Printing and Assembling the Editor's Day Edition of the Friendly Book of Monsters
 SCAD Sequential's Editor's Day has come and gone, preceeded by a week of preparations and followed by the rush of finishing my thesis before the finals crunch. This year, the Mini Comics Expo was on the same day as the last day of Editor's Day (it's actually a two day event- Friday and Saturday), so Heidi and myself had double the reason to get ready. We decided to attempt something we'd talked about often- a special edition cover for the Friendly Book of Monsters, a linoleum print on specialty paper.
It's been a few years since my last opportunity to create a traditional print, so while Heidi was excited at the thought, I had a little trepidation. I'd grown used to utilizing a well appointed print studio complete with presses, brayers, and a variety of inks, as well as the tools necessary for cleanup. I'd planned to keep it simple so that it would be executable from home, but I knew that a number of factors could go wrong.
Linoleum prints are some of the easiest prints that still fall under what I consider to be prints. Monoprints (one time prints) may be even easier- one just needs a sheet of plexiglass (or glass), some ink, and some time, but as those are one of a kind, they defeat the purpose of printing (to me), and seem to fall more under the jurisdiction of painting than printing. For this print, instead of actual linoleum, which can be difficult to cut and messy, I went with a rubber block, similar to white vinyl erasers in textures, and commonly used for these sorts of prints.
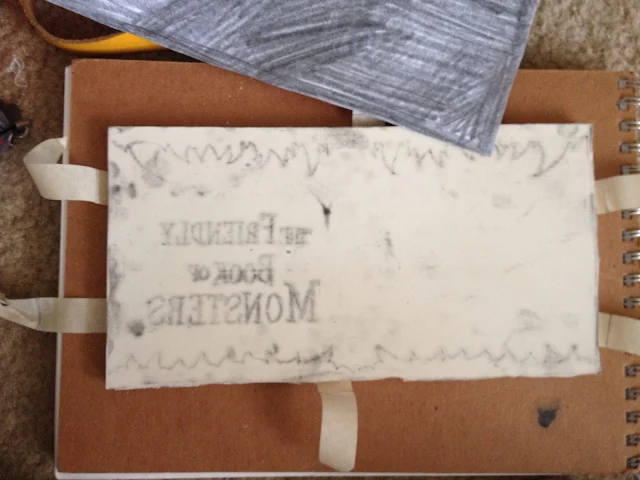
To prepare for carving the plate, Heidi reversed the Friendly Book of Monster's cover and simplified the text so that it could stand up to being carved. With this sort of printing, you lose a lot of fine details, so it's best to keep things as simple as possible. We printed it out, and I covered the back with graphite so I could transfer the image to the rubber block.
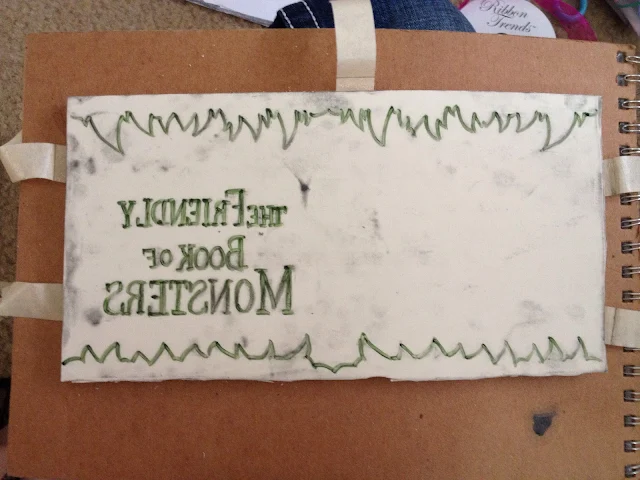
I knew that the graphite would probably rub off with handling, so I traced over it with Sharpie.
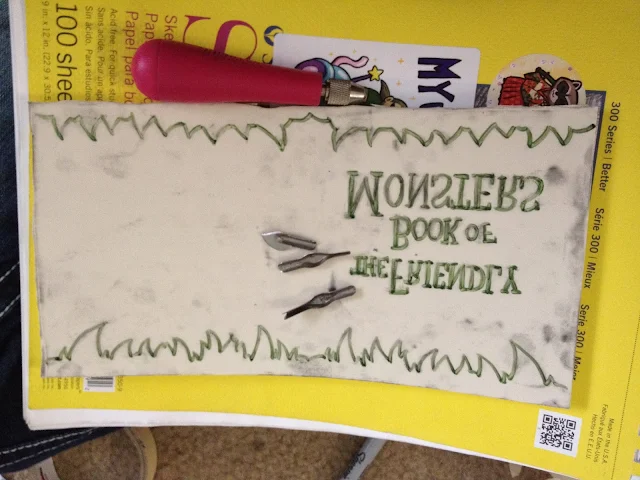
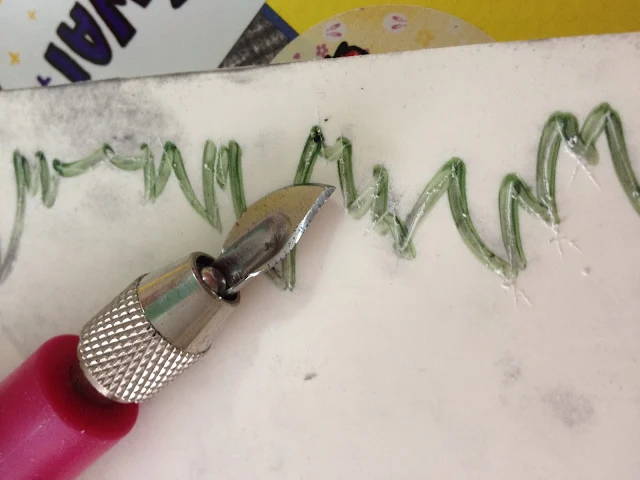
There's three tips I like best with my linocutter- the knife and two of the v blades. With the knife I carefully cut around each form, it reduces the likelihood of the rubber shearing into area I want to keep, and makes it easier to care intricate forms neatly.
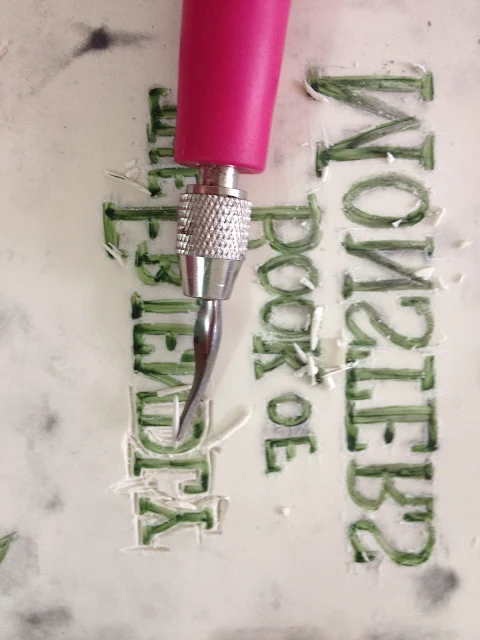
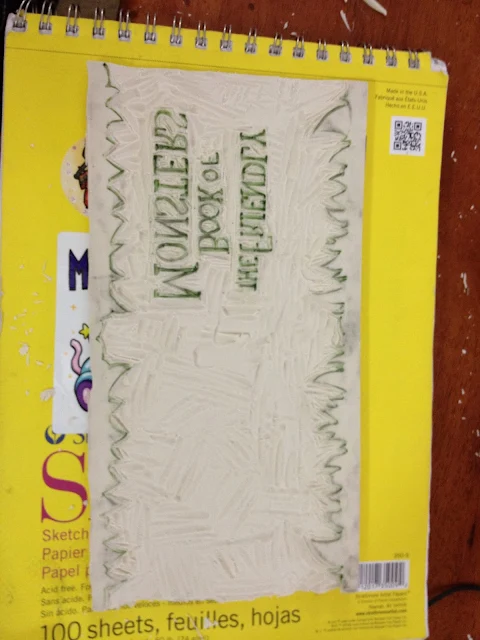
And then cut away the excess rubber from around the letterforms. I do this so that later on, I can quickly carve away the excess rubber without worrying too much about cutting something important.
This just leaves the grunt work- carving away all the excess rubber from around the positive area.
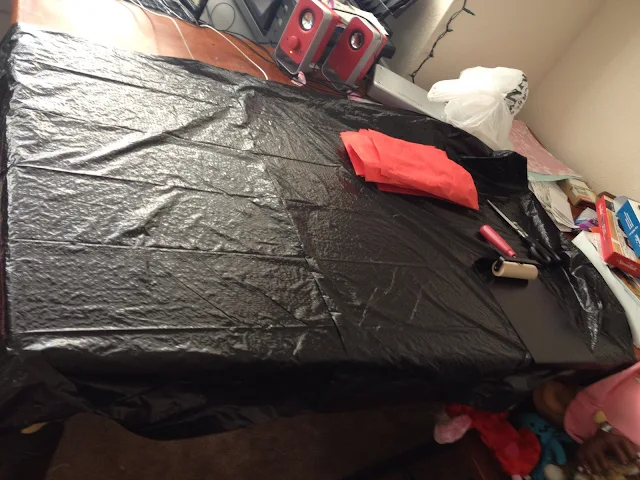
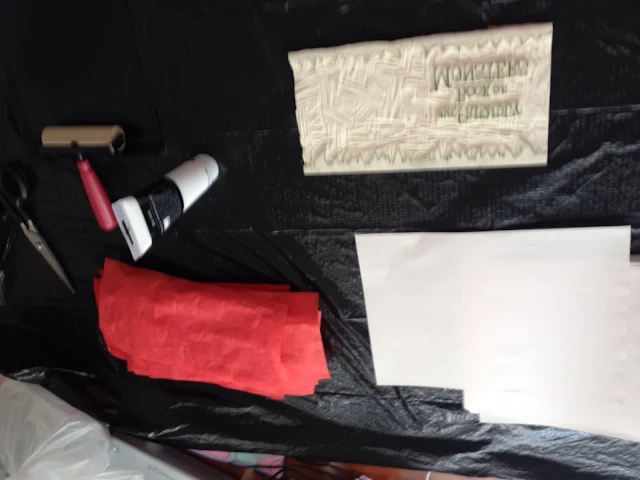
In order to print indoors, first we had to create a decent setup. This isn't too hard with linoleum block style printing, however. First, Heidi and I cleared off her her dining room table. Then I cut a garbage bag so it'd open up flat. Then I spread out my materials so they'd be handy- an S hook printing plate, my rubber brayer, the white ink, and my pre-cut paper.
I also had some newsprint handy for charging the block and doing test prints. Charging the block means you load the rubber block with ink, then do a test print. This ensures even printing later on, and can help you discover problem areas. When applying the ink to a block such as this, I was very careful to roll it just on the areas I wanted printed- the teeth at the top and bottom of the block, and the Friendly Book of Monsters title, otherwise we would have gotten a lot of printed 'noise'.
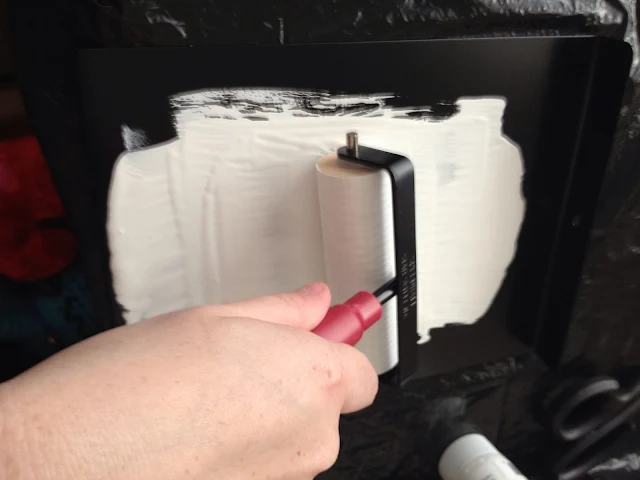
I squirt a little white blockprinting ink onto my inking plate, and roll it out using my roller. You want an even distribution of ink on your roller before you begin printing.
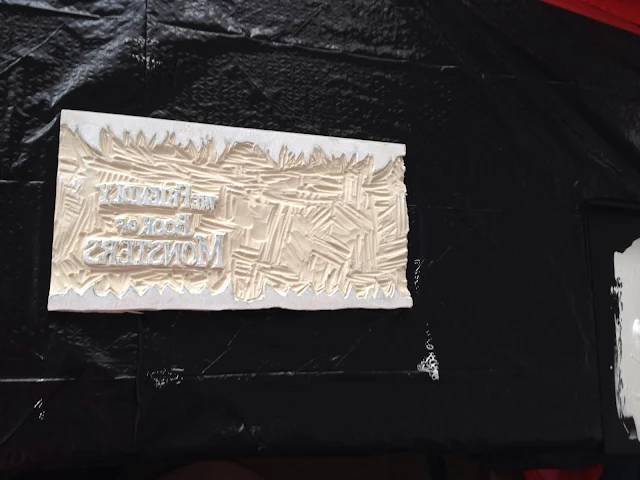
An inked plate:
When printing these covers, I carefully tried to align the paper with the block (paper on top, block on bottom), then I put a piece of newsprint on top to protect my hands. Some of these papers were extremely thin, and ink would seep through. Then I used my hands to wipe down the paper, evenly pressing the paper into the rubber block. Usually, I would use a hand-brayer (resembling a hockey puck, has a little bit of give), but I didn't have one on hand. After I'd done that, I carefully lifted my printed cover away from the block and set it aside to dry.
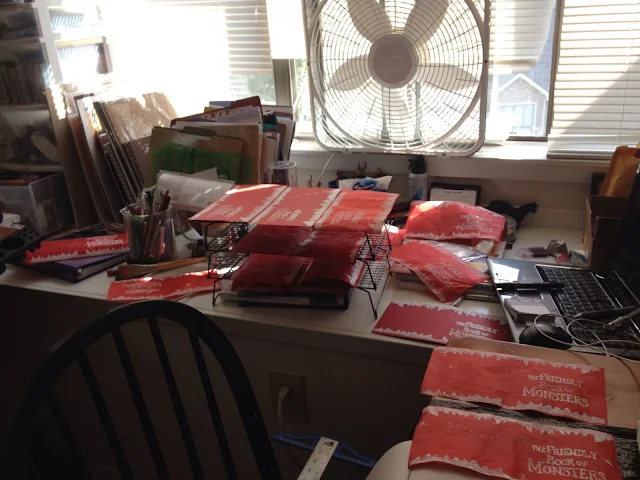
In lieu of the traditional drying rack, we used baking cooling racks, which were pretty useful for such a small print.
We ended up with a sizable number of usable prints, which made me happy, as it's been awhile since I'd been able to do any sort of printmaking.
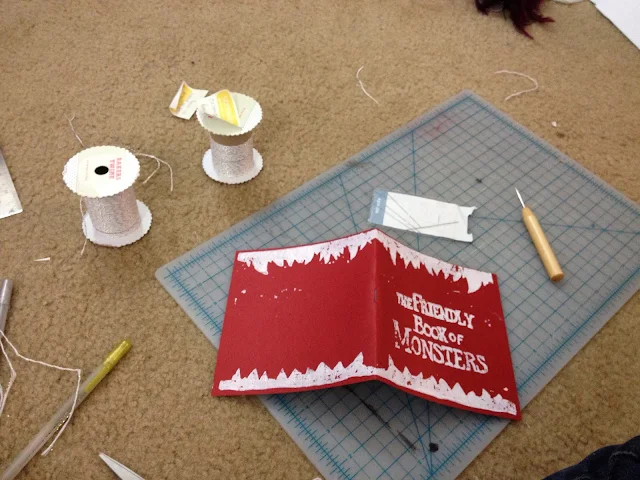
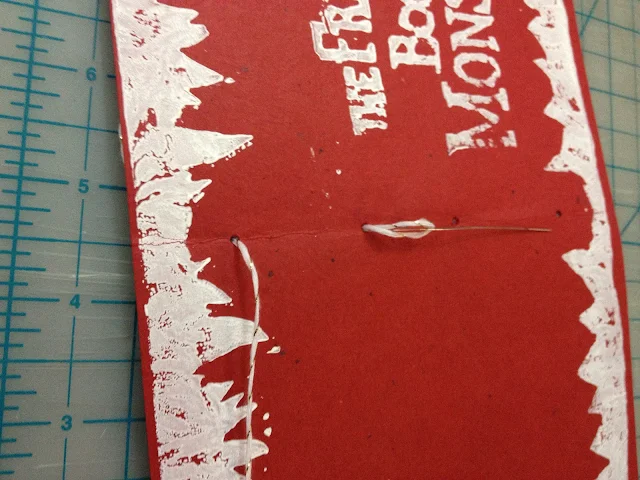
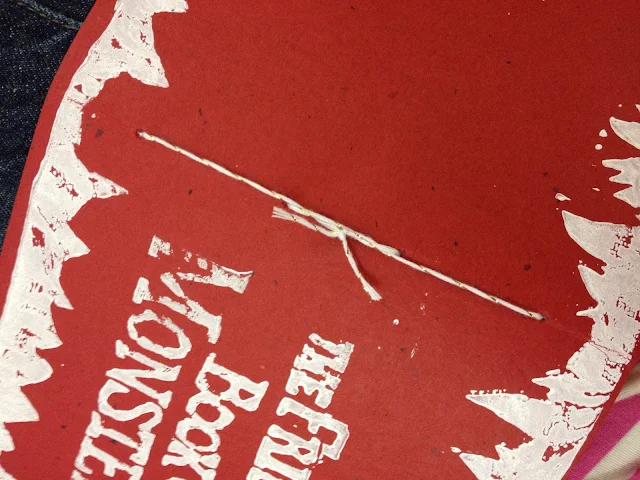
Heidi wanted this edition to be stab bound, so she quickly taught me an easy method. We used white and gold decorative bakers twine, an awl, and special needles.
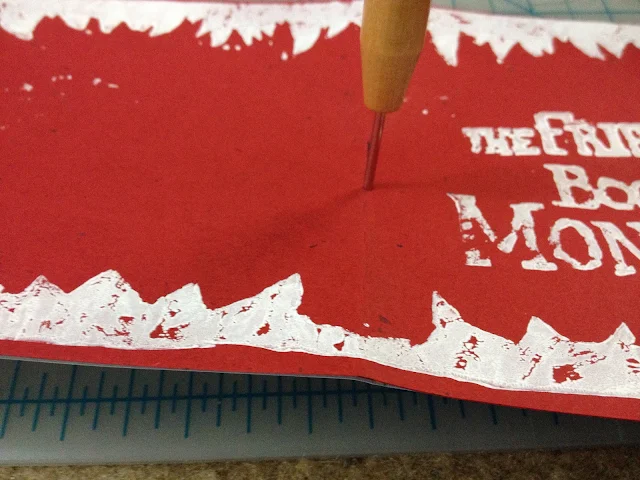
When binding books, you want to punch through your paper with the awl first. We stapled our books once to make sure there were no sliding pages while the handbinding took place.
After all four holes were punched, the sewing began.
Covers like these are intensely time consuming, skill intensive, and material expensive, and if you're a young artist looking to move comics, it might be wise to limit your specialty covers to one or two copies. While the process is fun, it's not something you want to crank out the night before a convention.





Comments
Post a Comment