Part 4: Artist Alley Essentials for Under $30- Signage
In prior posts, I've already introduced you guys to the $30 Dollar Tree Artist Alley table haul as a whole, and introduced you to the basics and display elements in detail. In this post, I'm going to cover signage.
This post will include:
Your signage is an important part of your artist alley table, alerting customers to products as well as informing them of prices. While some artists list all their prices on one prominently displayed sign, I prefer to label individual product groups to avoid confusion. For this, I currently use sticky notes. Although this isn't the most elegant solution, it's easy to re-price items quickly, or to make all new price signs.
Sticky Notes

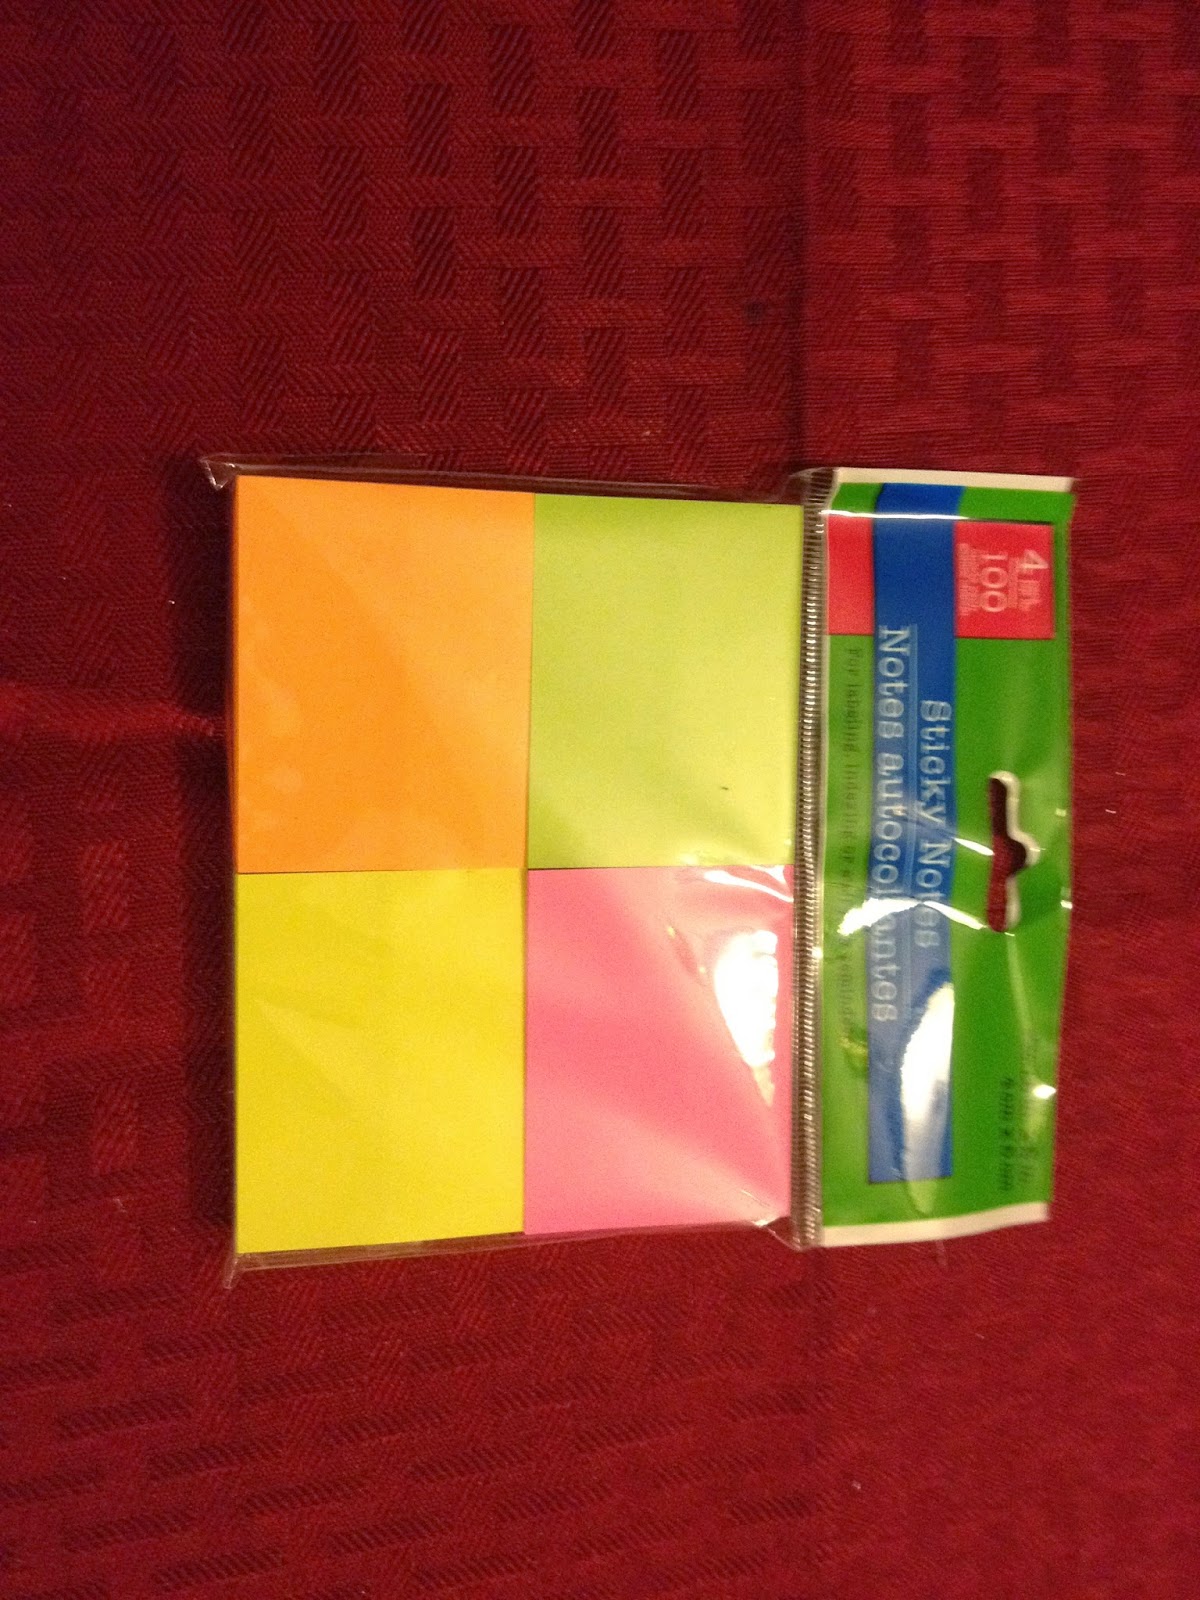
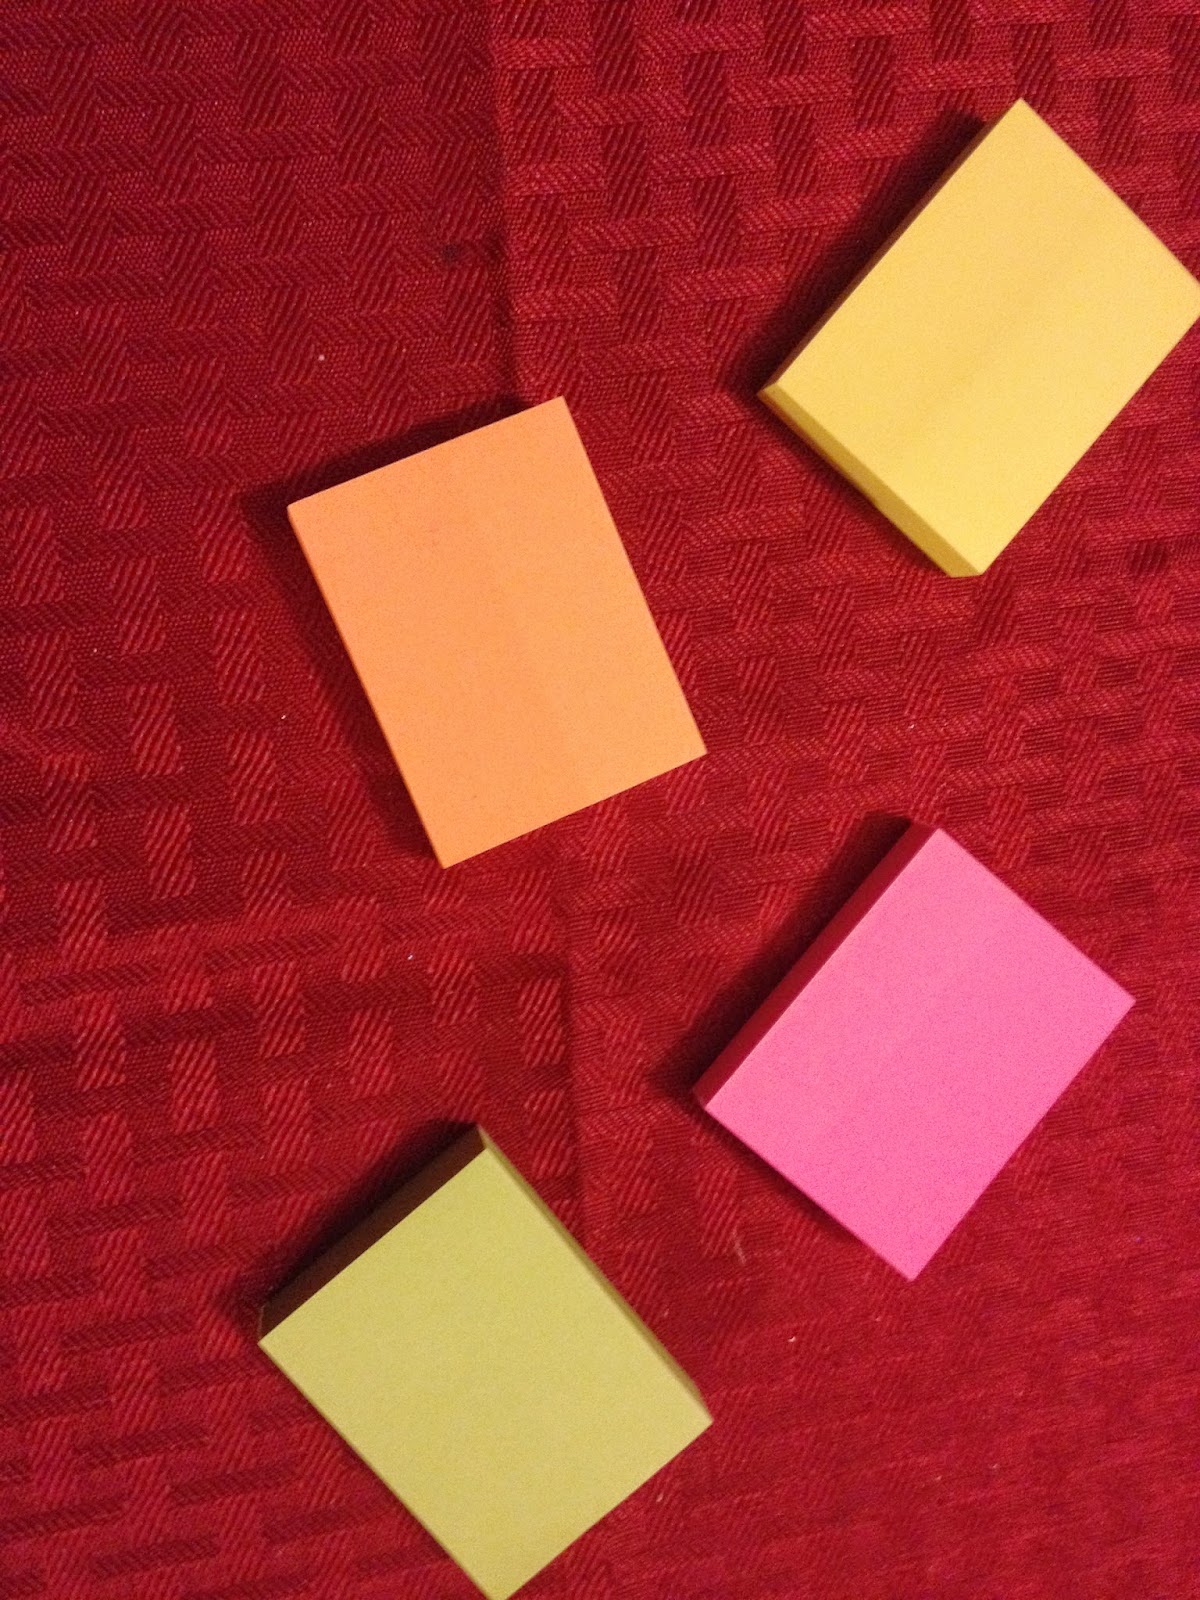
 Post-It notes are probably the best option for this- they're tacky, but not so tacky that they're difficult to remove from the pad, but honestly, any sticky notes will work fine. This four pack, from Dollar Tree, comes in four neon colors. You can use just one color that compliments your table scheme, or use all four in a color coordinated pricing scheme.
White Board


If you prefer to have your prices listed in one place, or you need to include a lot of information (like commission info) a whiteboard may be more useful than individual sticky notes. This example, from Dollar Tree, is pretty terrible, but cheap whiteboards are easy to come by. Walmart, Office Max, and Staples all offer small desktop whiteboards, often including magnets and a dry erase marker in the package.
Other Useful Signage

Glass front picture frames can be turned into customized dry erase boards with the addition of white paper, solid color paper, or even attractive scrapbooking paper. The marker whips off with water or a little Dry Erase solution.

Plain white paper or cardstock in plastic displays like the above are another way to display information. These displays are pretty commonplace (I got mine at Office Depot four years ago) and last a long time, so they may be worth the investment.
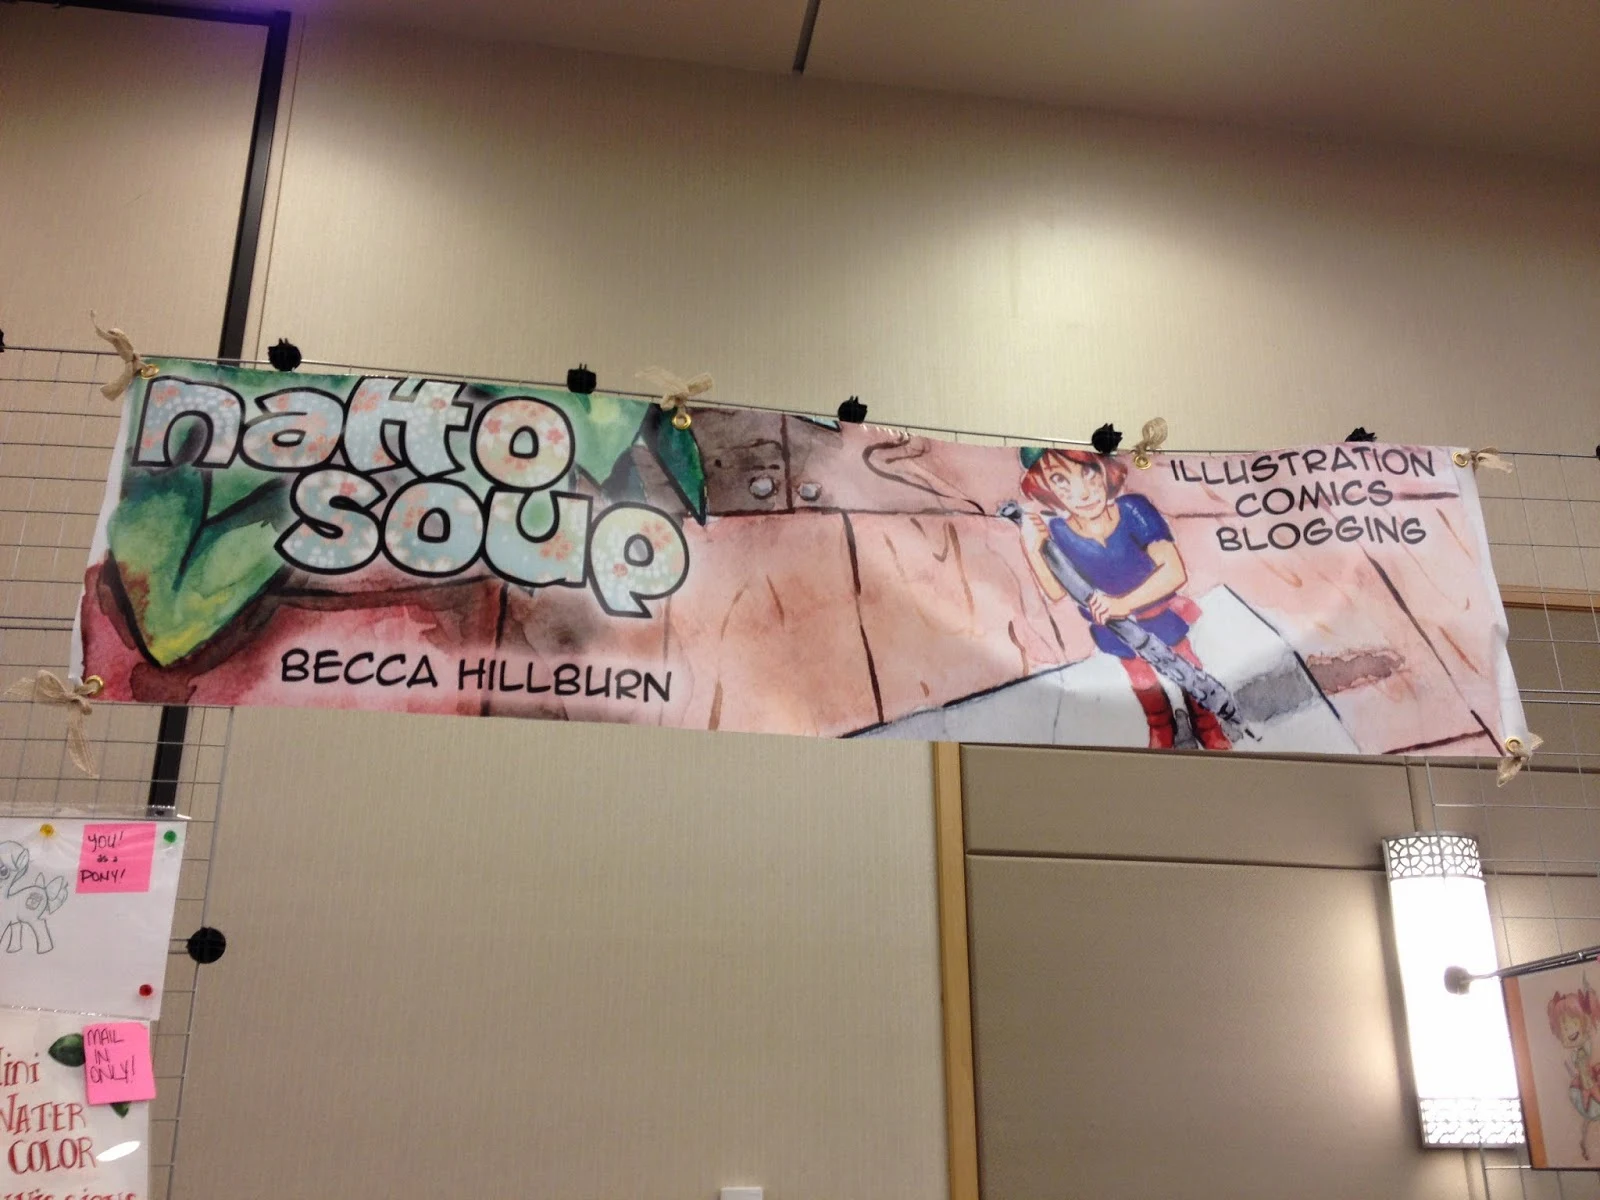
Of course, your branding should be part of your signage. It's really important to have visible branding like a banner. My current full size banner, a 6'x2' banner that's been cut down to 6'x18", came from BuildASign, and I set the grommets myself.
A professional quality banner is an investment, and is worth spending a little extra money on, but if you can't afford to have a banner made, you can make yoursellf at home.
Years ago, Heidi and I handpainted a Rascals Rogues and Dames banner for Interventioncon.

We used a length of starry blue fabric (probably 2 yards) cut to about 18" wide, and glued golden ribbon to the edges in lieu of hemming the raw edges. We sketched the letters in with white color pencil, then we used cheap acrylic paint (probably from Jo-Ann's) to fill them in, sometimes going over letters a few times for opacity.

The finished banner on a cheap stand made of pipes.
This method worked so well that we painted another banner for our shared table:

You don't have to go out and buy fabric for your banner- there's probably some around the house that you can repurpose. Clean old sheets work just fine for this, as long as there are no stains.
This post cheats a bit, since not everything mentioned above is available at Dollar Tree, but I feel like these additions were worth mentioning for beginner convention artists.
This post will include:
- sticky notes
- whiteboards
Your signage is an important part of your artist alley table, alerting customers to products as well as informing them of prices. While some artists list all their prices on one prominently displayed sign, I prefer to label individual product groups to avoid confusion. For this, I currently use sticky notes. Although this isn't the most elegant solution, it's easy to re-price items quickly, or to make all new price signs.
Sticky Notes
White Board


If you prefer to have your prices listed in one place, or you need to include a lot of information (like commission info) a whiteboard may be more useful than individual sticky notes. This example, from Dollar Tree, is pretty terrible, but cheap whiteboards are easy to come by. Walmart, Office Max, and Staples all offer small desktop whiteboards, often including magnets and a dry erase marker in the package.
Other Useful Signage

Glass front picture frames can be turned into customized dry erase boards with the addition of white paper, solid color paper, or even attractive scrapbooking paper. The marker whips off with water or a little Dry Erase solution.

Plain white paper or cardstock in plastic displays like the above are another way to display information. These displays are pretty commonplace (I got mine at Office Depot four years ago) and last a long time, so they may be worth the investment.
Of course, your branding should be part of your signage. It's really important to have visible branding like a banner. My current full size banner, a 6'x2' banner that's been cut down to 6'x18", came from BuildASign, and I set the grommets myself.

A professional quality banner is an investment, and is worth spending a little extra money on, but if you can't afford to have a banner made, you can make yoursellf at home.
Years ago, Heidi and I handpainted a Rascals Rogues and Dames banner for Interventioncon.

We used a length of starry blue fabric (probably 2 yards) cut to about 18" wide, and glued golden ribbon to the edges in lieu of hemming the raw edges. We sketched the letters in with white color pencil, then we used cheap acrylic paint (probably from Jo-Ann's) to fill them in, sometimes going over letters a few times for opacity.

The finished banner on a cheap stand made of pipes.
This method worked so well that we painted another banner for our shared table:

You don't have to go out and buy fabric for your banner- there's probably some around the house that you can repurpose. Clean old sheets work just fine for this, as long as there are no stains.
This post cheats a bit, since not everything mentioned above is available at Dollar Tree, but I feel like these additions were worth mentioning for beginner convention artists.
Comments
Post a Comment