Alternate Sketching Techniques: Watercolor Basics
This series is also made possible thanks to the generosity and interest of my Patrons on Patreon.

My Watercolor Basics series is a longform, in depth tutorial series aimed at empowering others to pursue their artistic interests. Due to the nature of these series, which require process posts, numerous examples, and in depth research, these posts are extremely resource intense. It is only due to the support and loyalty of my Patrons that I can devote the time, resources, and knowledge to posts like this. To my Patrons, I owe my sincere thanks- without you, there would be no Watercolor Basics or Intro to Comic Craft series.
For only $2 a month, you can join the Artnerd community and help support quality content like this. Your pledge enables me to pay guest artists, purchase supplies for review, and offset some of the costs these in depth posts incur. Your support inspires me to dedicate the time necessary to writing and creating art education content.

Step 2: Begin Sketching


Once you've finished sketching your image, it's time to get painting!
Securing Your Paper


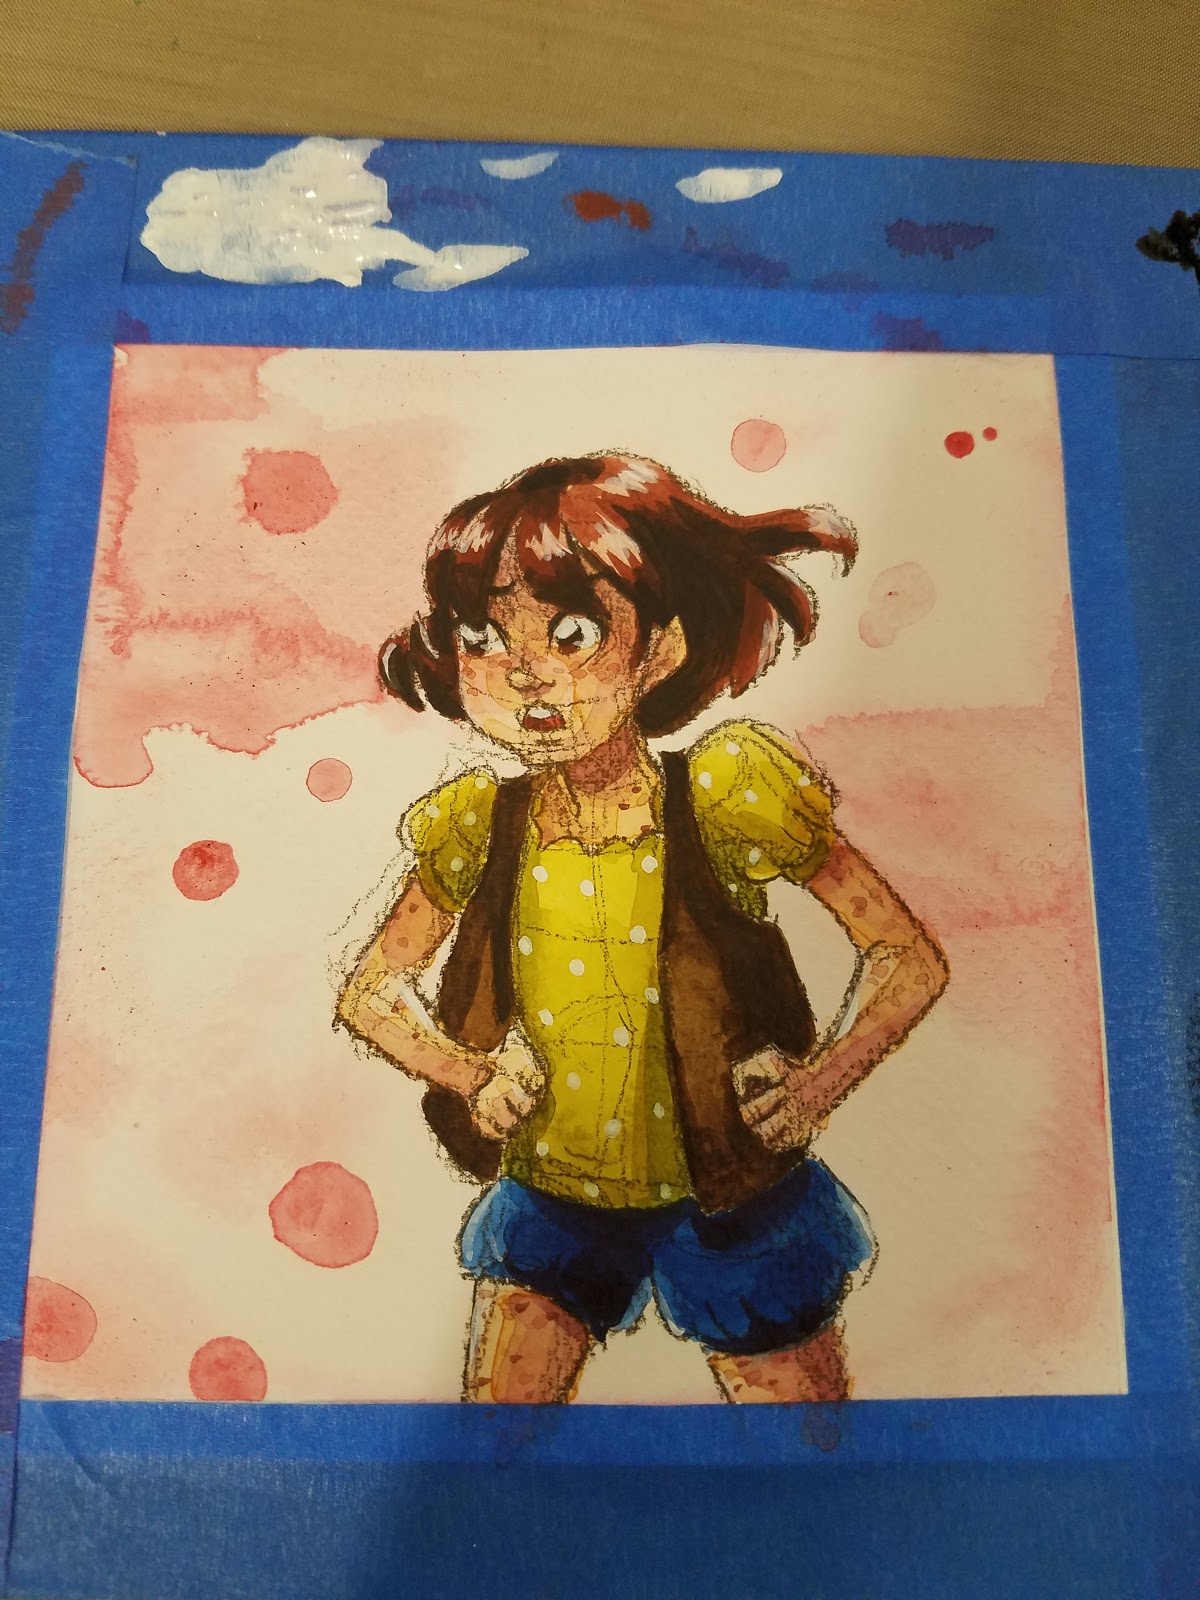
I just taped my watercolor paper directly to my Inkssentials Craft Mat, which was probably a poor idea, as at this time, it wasn't secured to my drafting table. This meant that as the watercolor paper buckled, it took the craft mat with it, as the craft mat supplied NO SUPPORT. Be a smartie- secure your paper to a hard surface!
Painting
Wet into Wet Background
Color is applied while paper is still wet. Color diffuses into water for a soft blurred effect.


And of course, watercolor tends to dry lighter than it goes down.


In this case, A LOT lighter than it went down, which was pretty disappointing.

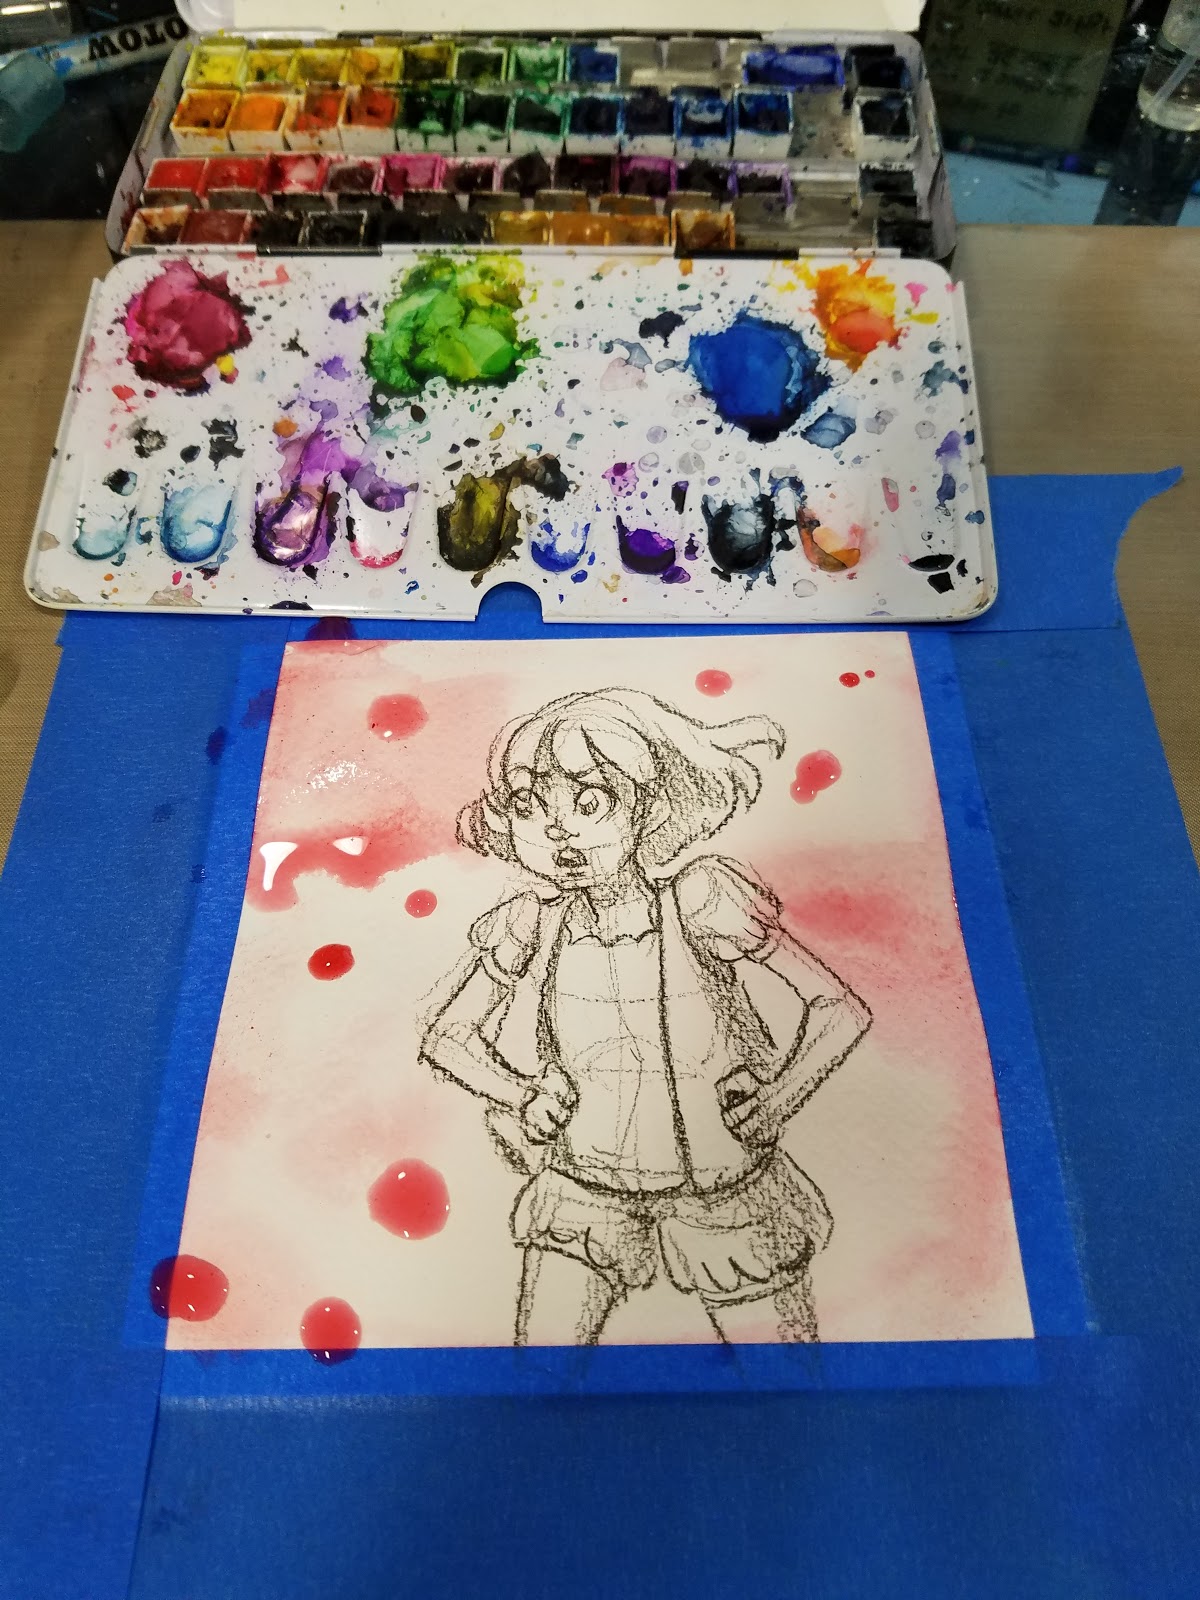
So I attempted to darken it a bit with wet onto dry (splatter effect)
Skintone-Glazing
For a step by step glazing tutorial, please check out this post.

Frustrated by my Craft Mat kipping and buckling with the paper, I removed my piece from the mat and applied it to a spare piece of chipboard (from a Fluid block).


Building up Color and Tone
Just using glazing techniques at this point.


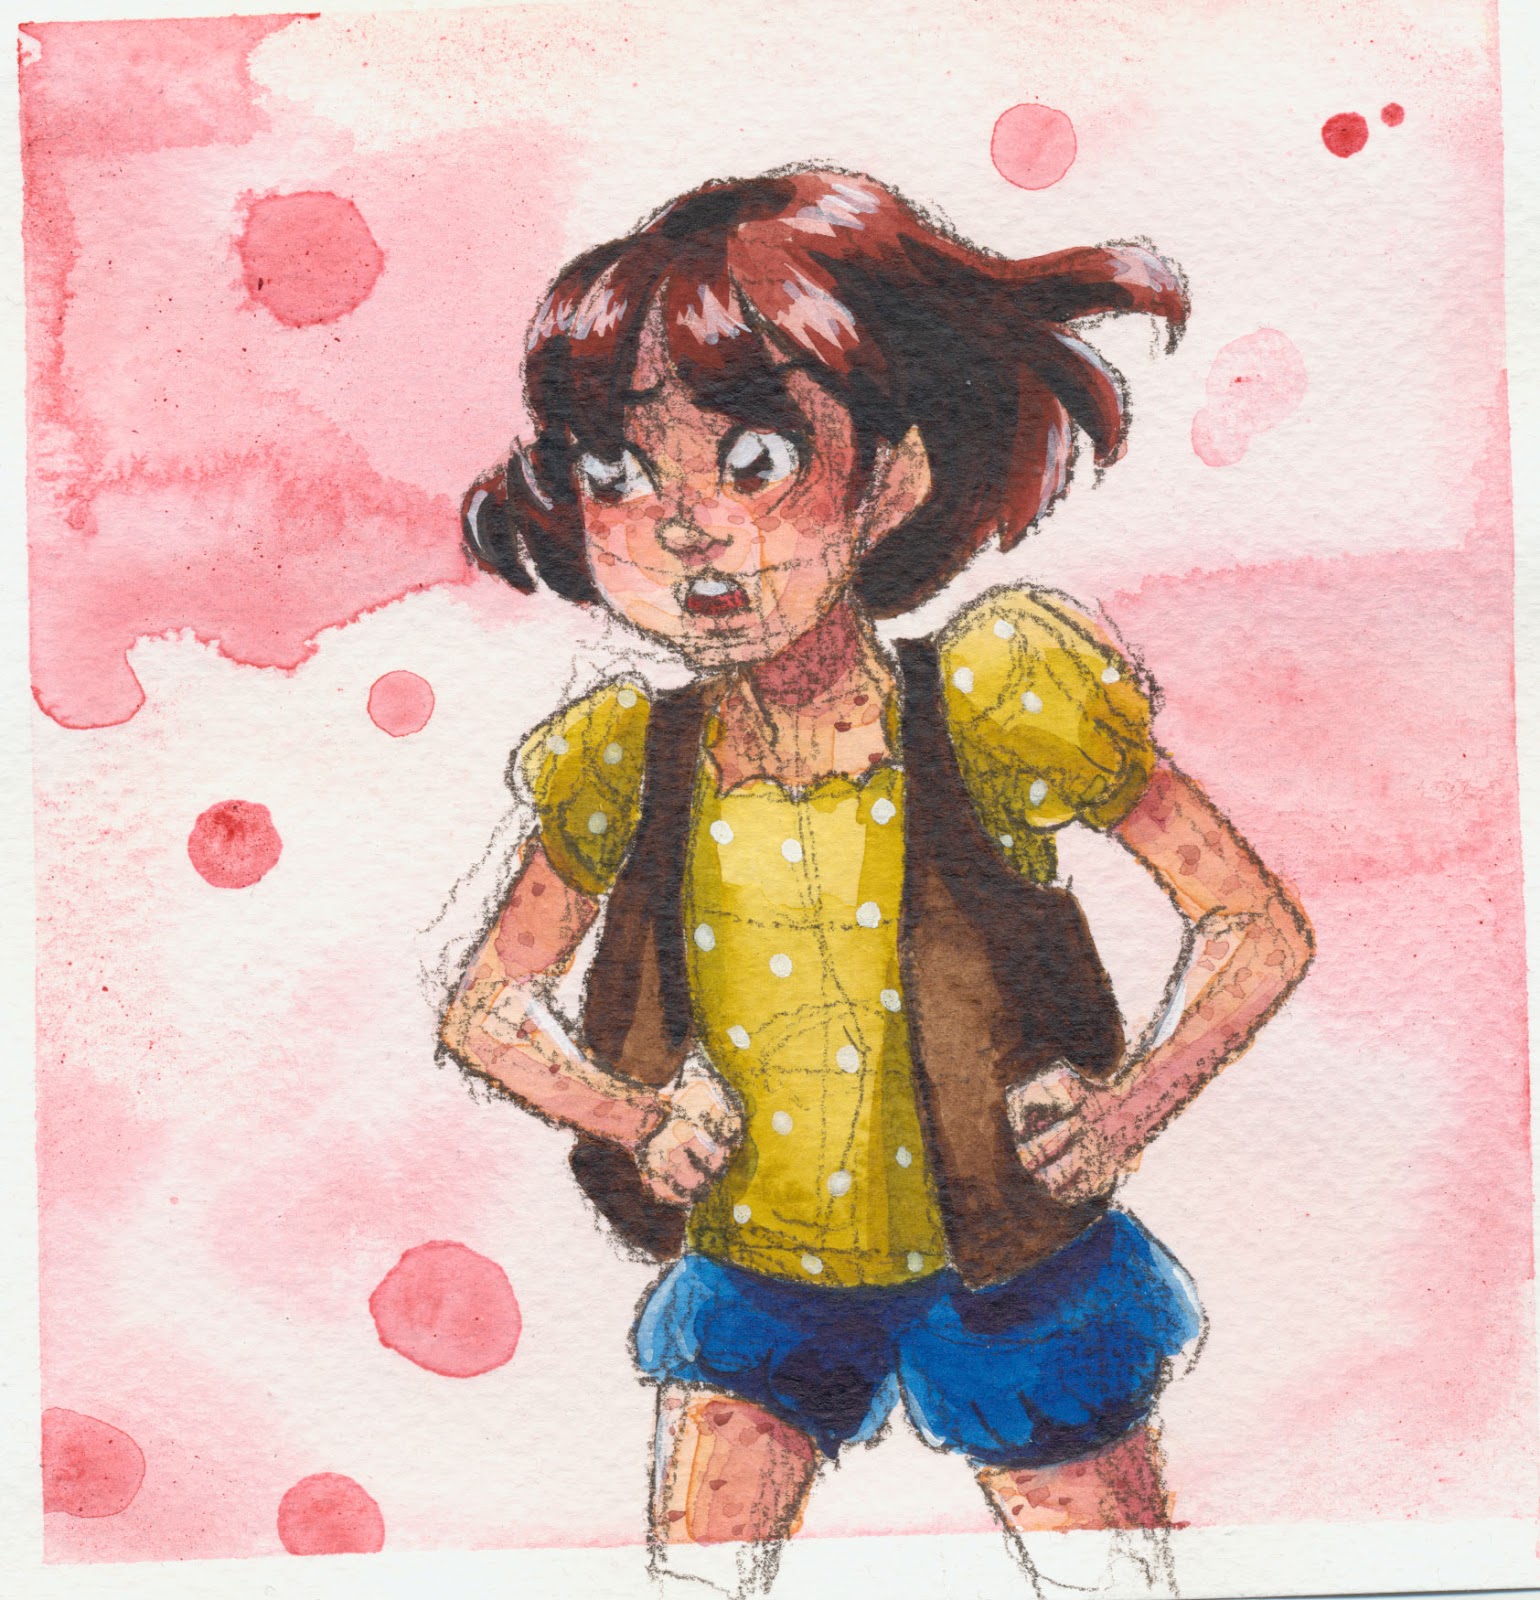
White Gouache Accents
This paper isn't really prepared to handle a lot of paint (it's a studio, which tends to be student or practice grade), so a lot of contrast was lost or difficult to build up. I opted to add some back with white gouache.


I'd love to revisit this technique and play with various colored pencils, types of lead, and paper types! I think this is a fun technique that changes up the look of your finished piece, and it's a great technique for doing colored sketches without waiting for ink to dry.
Our Sponsor
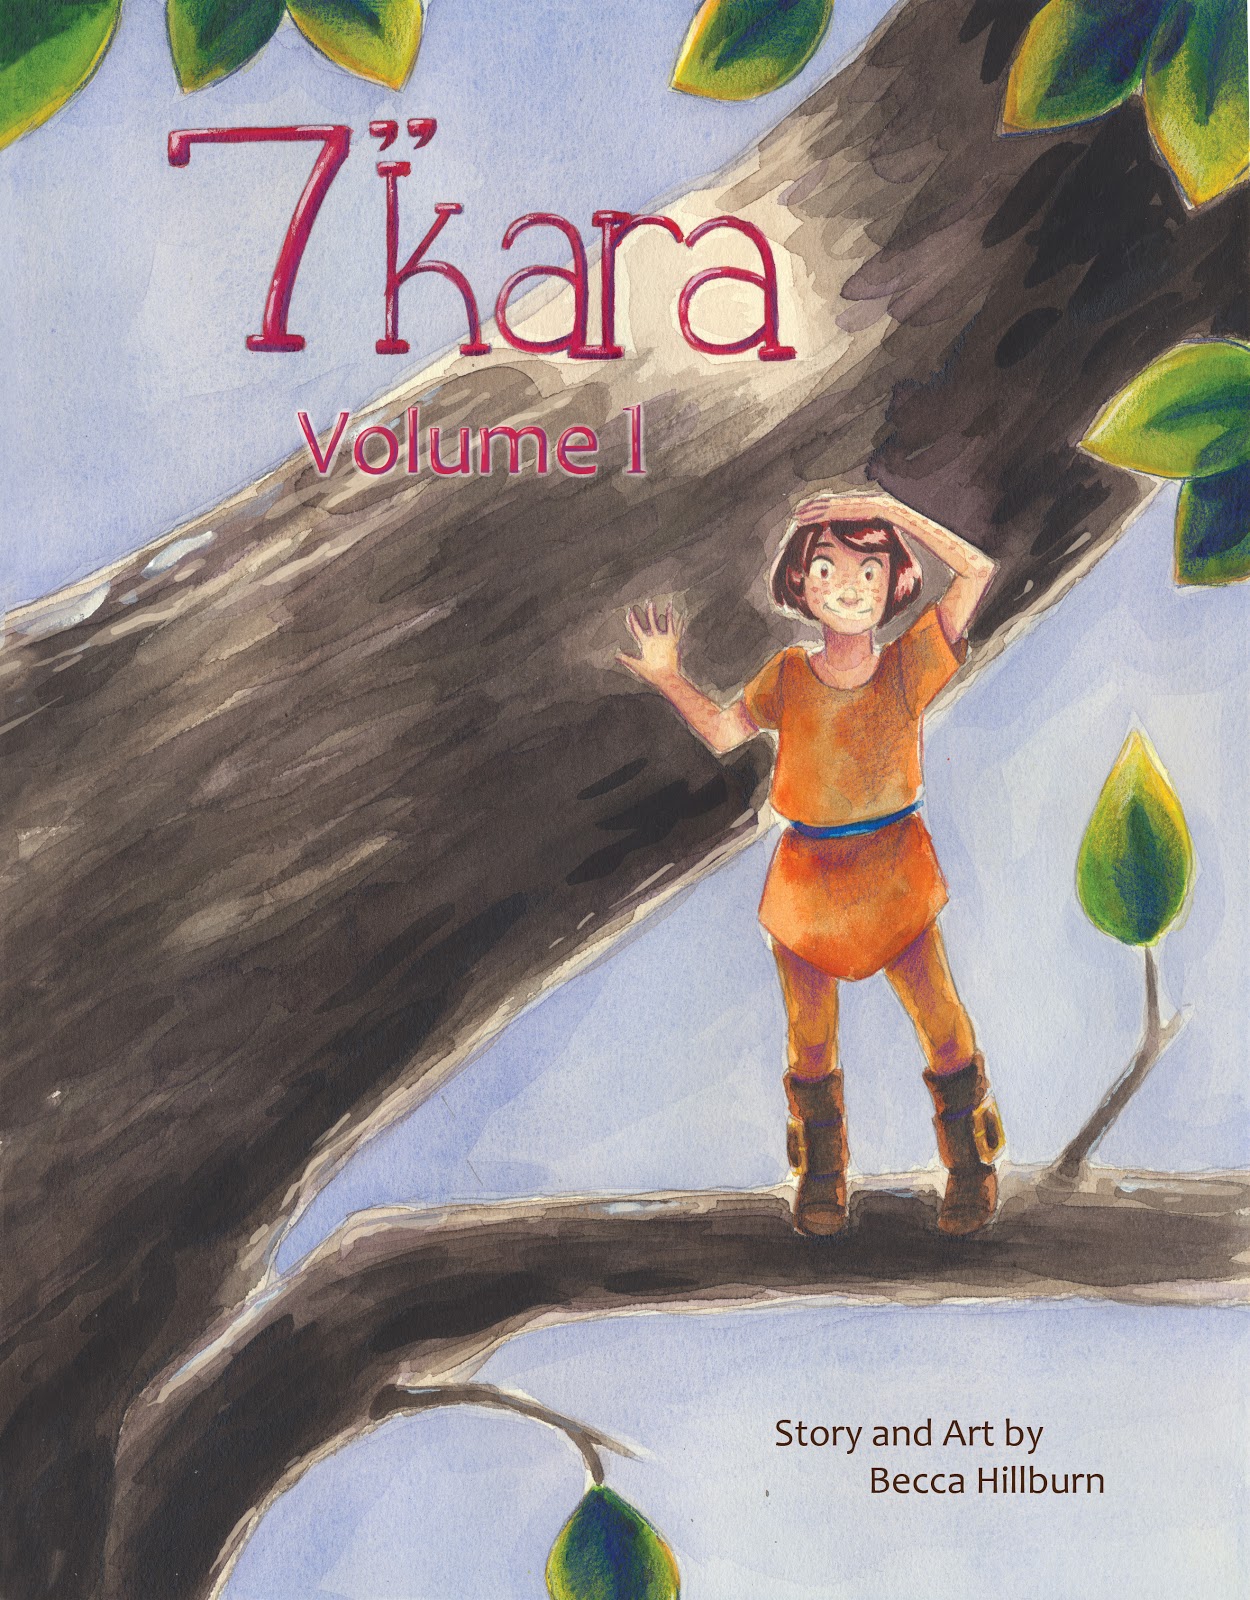
Speaking of watercolor, today's Watercolor Basic post was brought to you by the webcomic launch of 7" Kara, the comic that has inspired this series! If you enjoy my watercolor art, illustration, or tutorials, please check 7" Kara out on Tumblr or on the 7" Kara site.

If you just can't stand a cliffhanger, Volume 1 of 7" Kara is available on Gumroad and through my web-shop. Volume 1 contains the first four chapters of 7" Kara, and a bonus story, as well as loads of additional illustrations and a concept section!


My Watercolor Basics series is a longform, in depth tutorial series aimed at empowering others to pursue their artistic interests. Due to the nature of these series, which require process posts, numerous examples, and in depth research, these posts are extremely resource intense. It is only due to the support and loyalty of my Patrons that I can devote the time, resources, and knowledge to posts like this. To my Patrons, I owe my sincere thanks- without you, there would be no Watercolor Basics or Intro to Comic Craft series.
For only $2 a month, you can join the Artnerd community and help support quality content like this. Your pledge enables me to pay guest artists, purchase supplies for review, and offset some of the costs these in depth posts incur. Your support inspires me to dedicate the time necessary to writing and creating art education content.
Alternate Sketching Techniques
Having a variety of image creating options at my disposal helps me stay motivated and inspired when I'm cranking out field test after field test, demonstration after demonstration. For 7" Kara pages (which you can check out here!), I will print bluelines using waterbased ink, go over those with pencil, and the bluelines will wash away when I stretch my paper. But this isn't the only way you can create an image, and you should experiment with any method that captures your imagination.
Image Creation Options:
- Graphite on Paper
- Graphite transfer
- Inked Lineart
- Color Pencil
There are loads of ways to get your thoughts out on to paper, so if you feel hampered by pencil or ink, try sketching in color pencil!
The benefits:
- Looser
- Can work in the color of your choice
- Can build up subtle tone
The Cons:
- Can't always erase
- Color pencil may build up too heavy
Today we're going to go over a method for image construction that utilizes colored pencils. You can find inspiration for multi-color sketches all over Instagram- many utlize colored leads such as Col-Erase, Uni-Color, or Color Eno colored leads. For this demonstration, I'm going to use something a little less water-soluble- a Prismacolor color pencil.
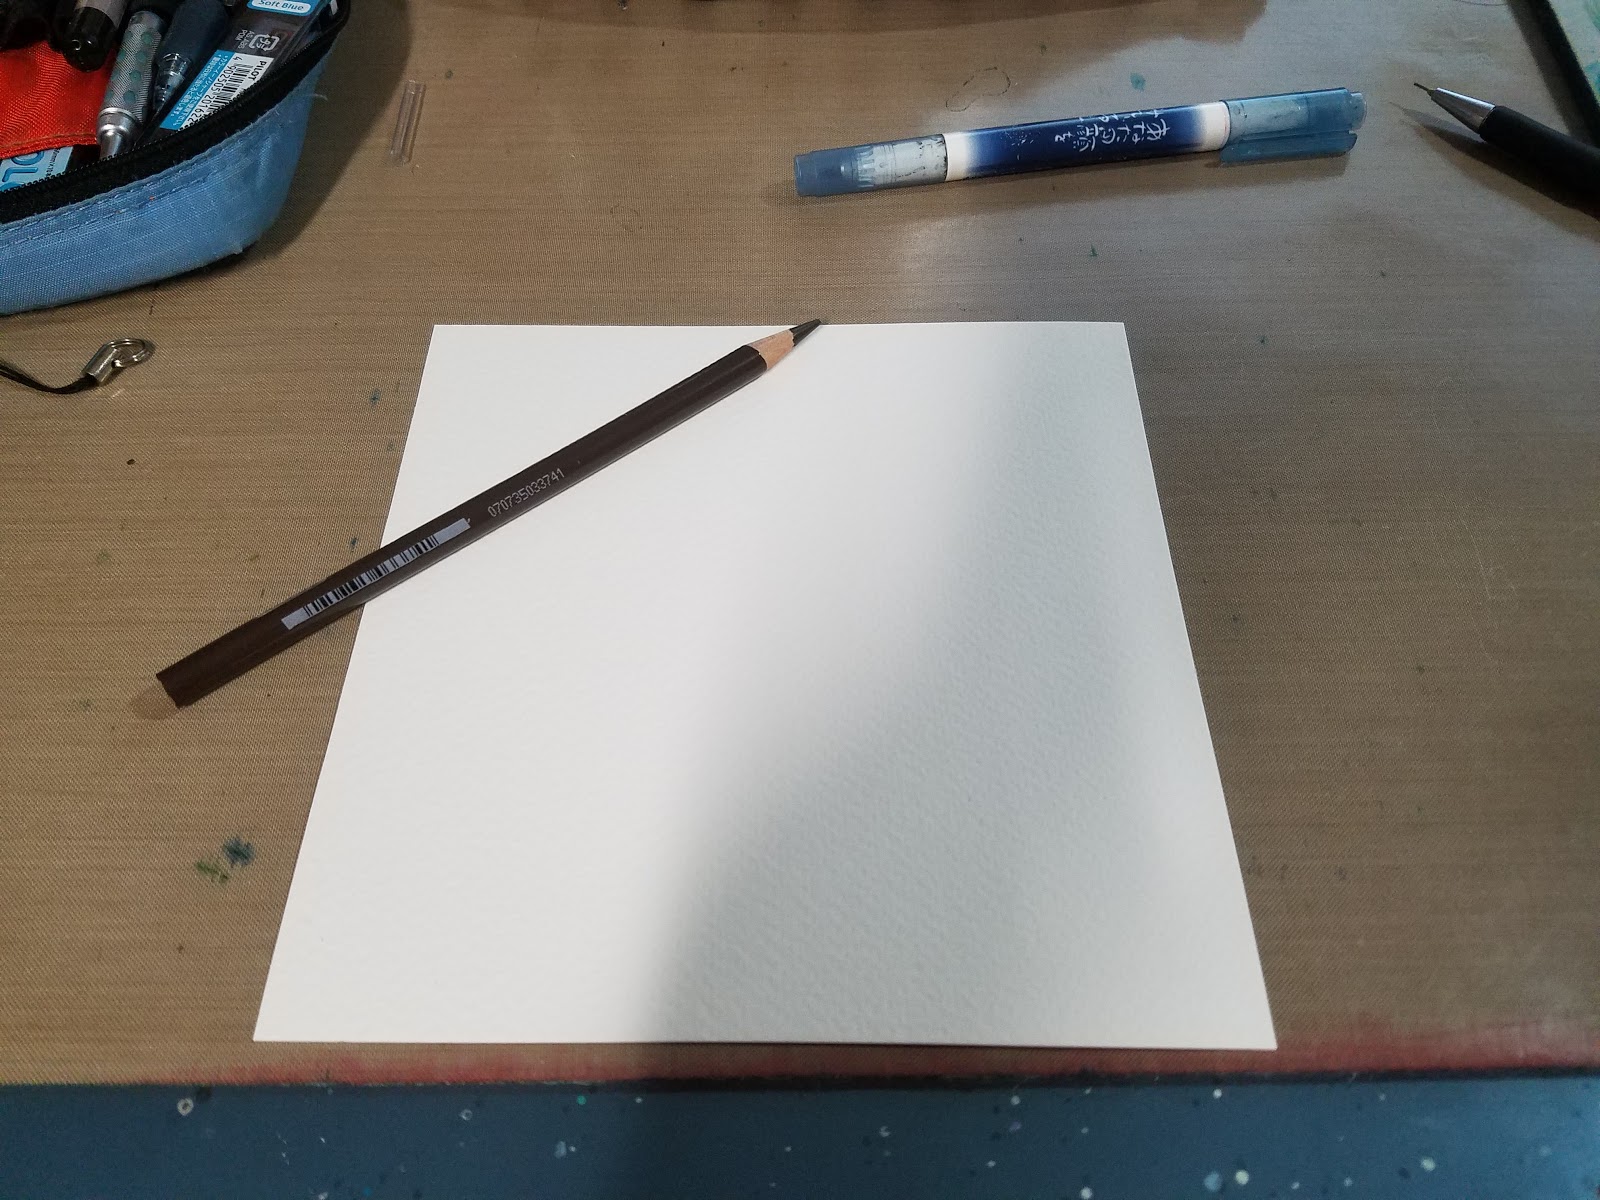
Step 1: Prepare your Materials
For this demonstration, I'm using Fabriano Studio (not to be confused with Fabriano Artistico, Studio is the pathetic younger cousin to Artistico), a cellulose paper that's about the same weight as cardstock.
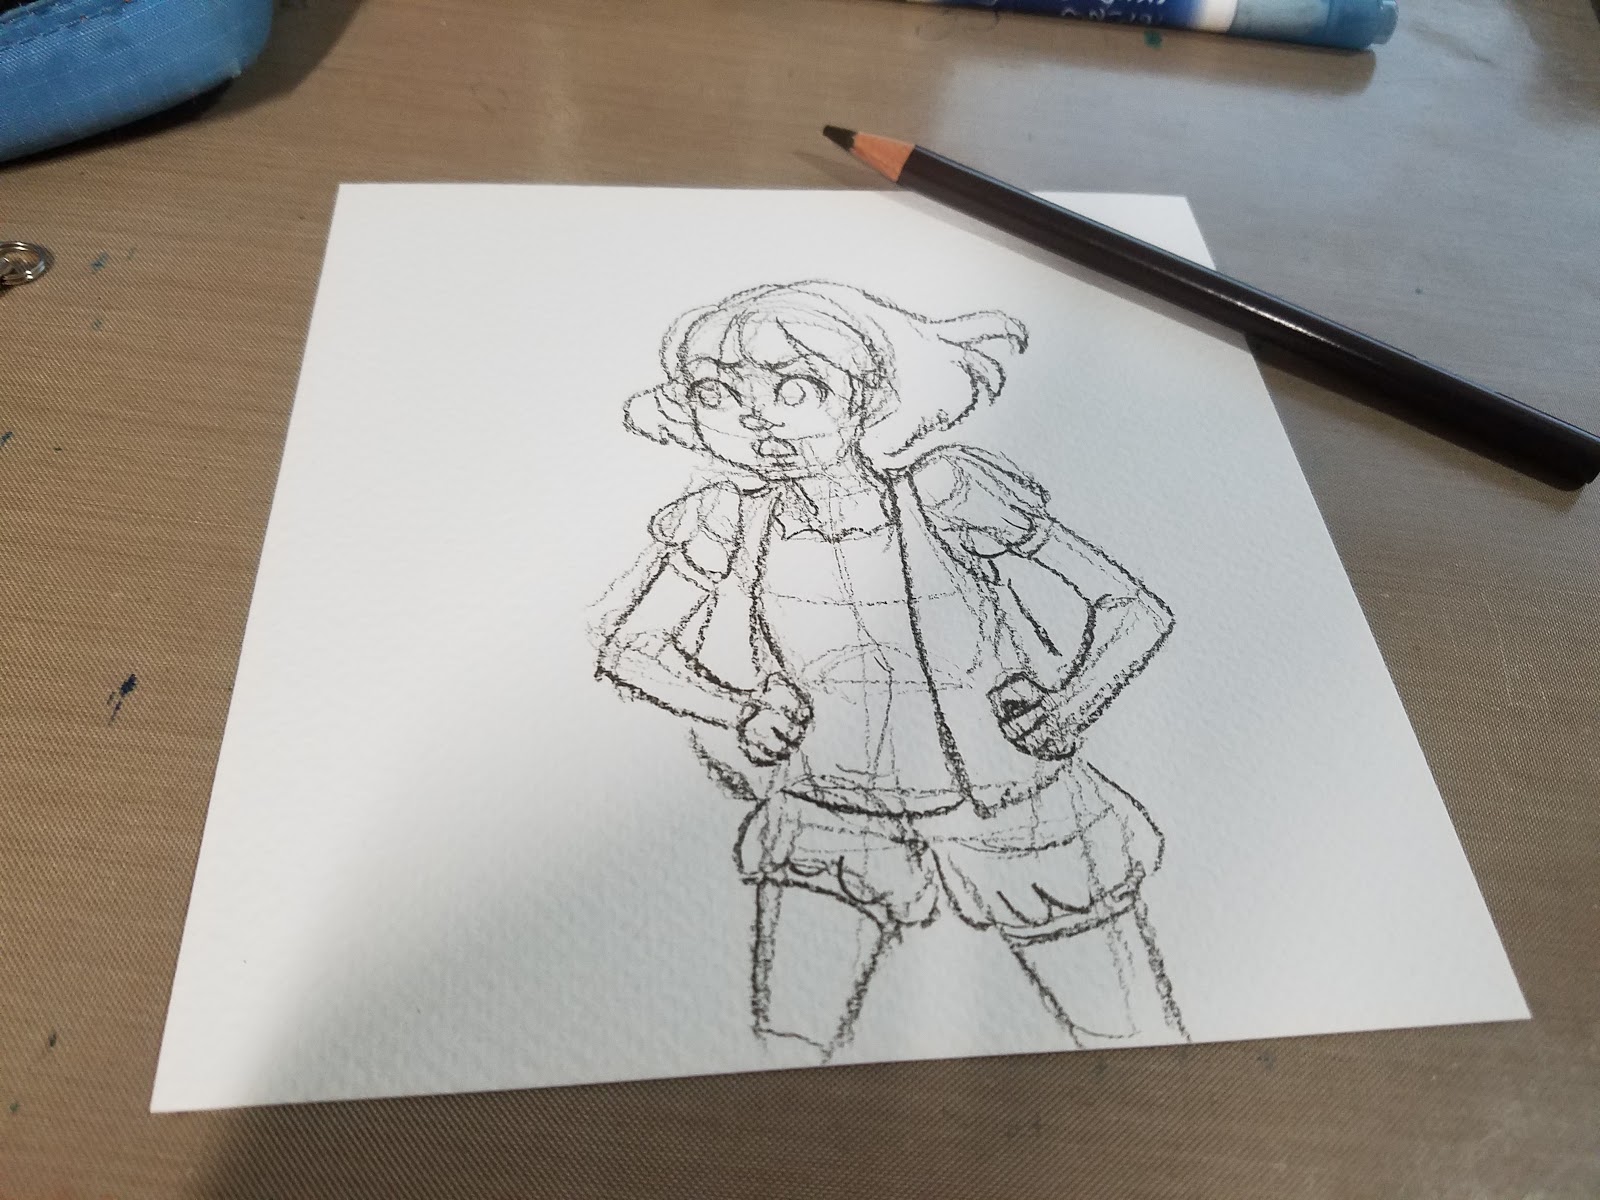
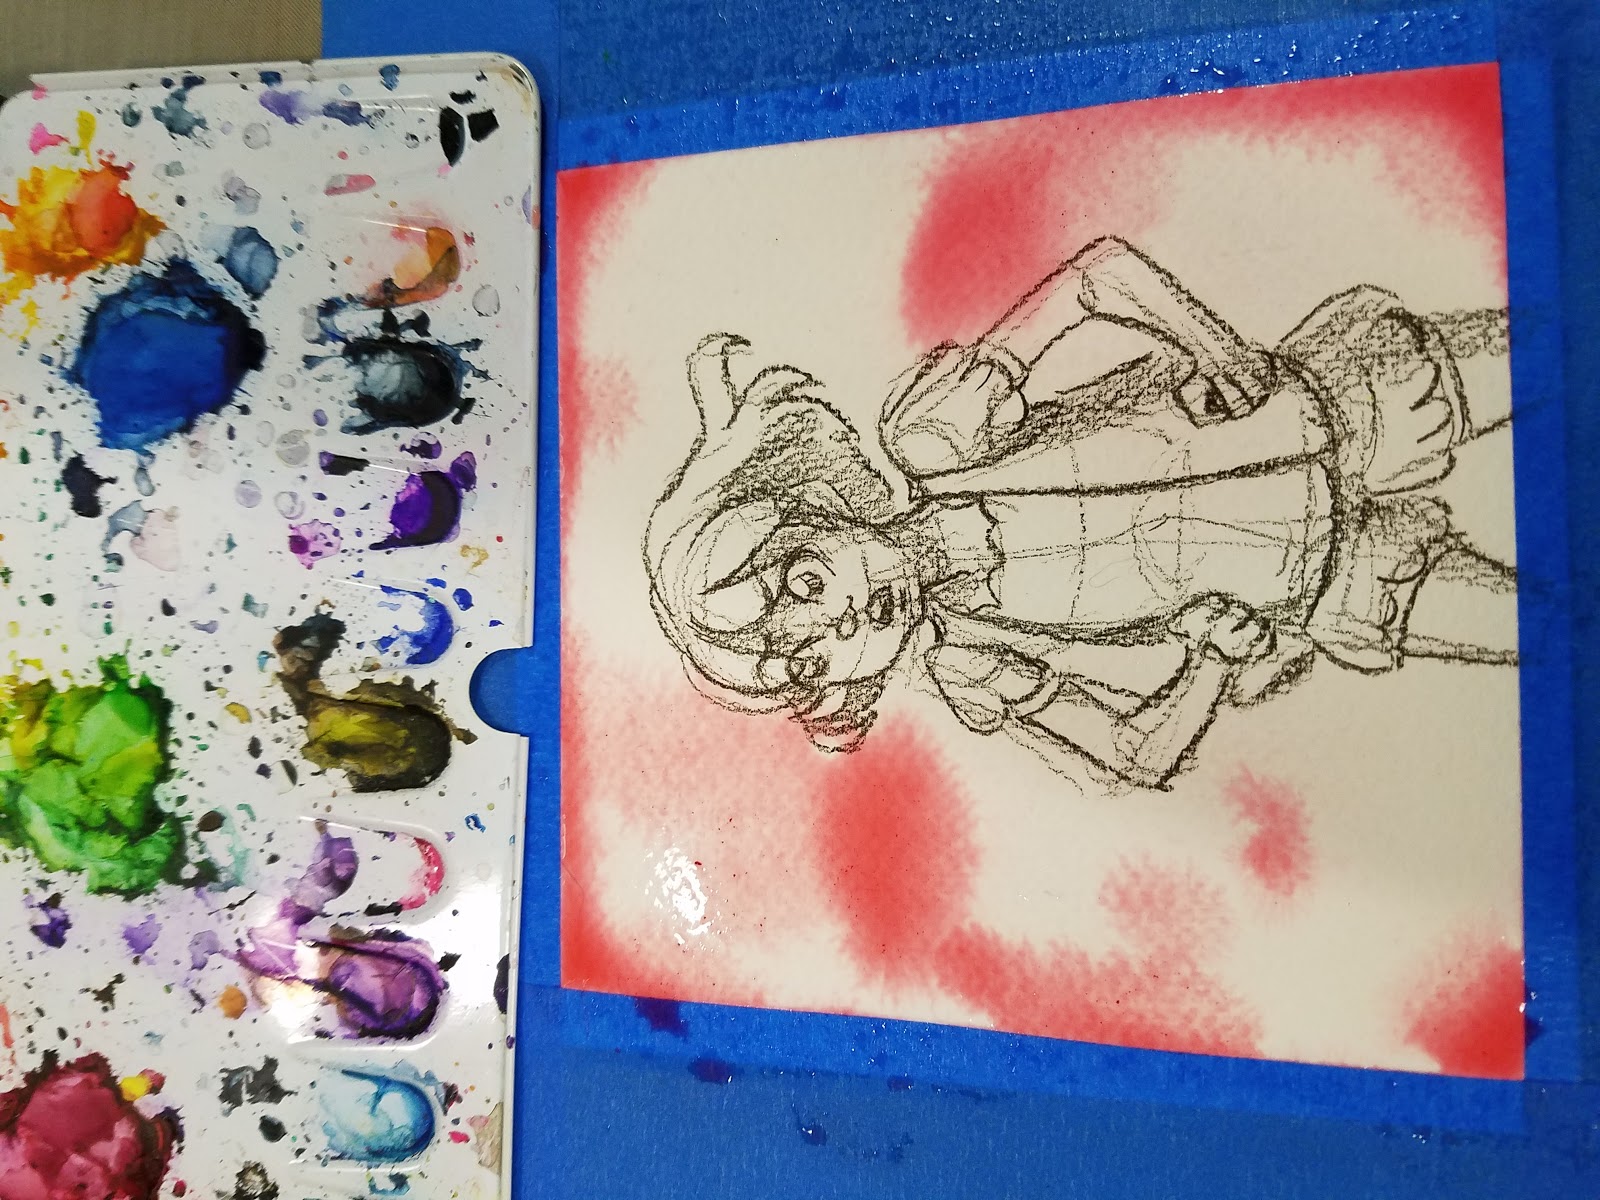
Step 2: Begin Sketching
This method works particularly well if you don't rely heavily on construction for accuracy. I try to keep a light hand in sketching Kara out, as I don't want the construction lines to overwhelm the image.


Once you've finished sketching your image, it's time to get painting!
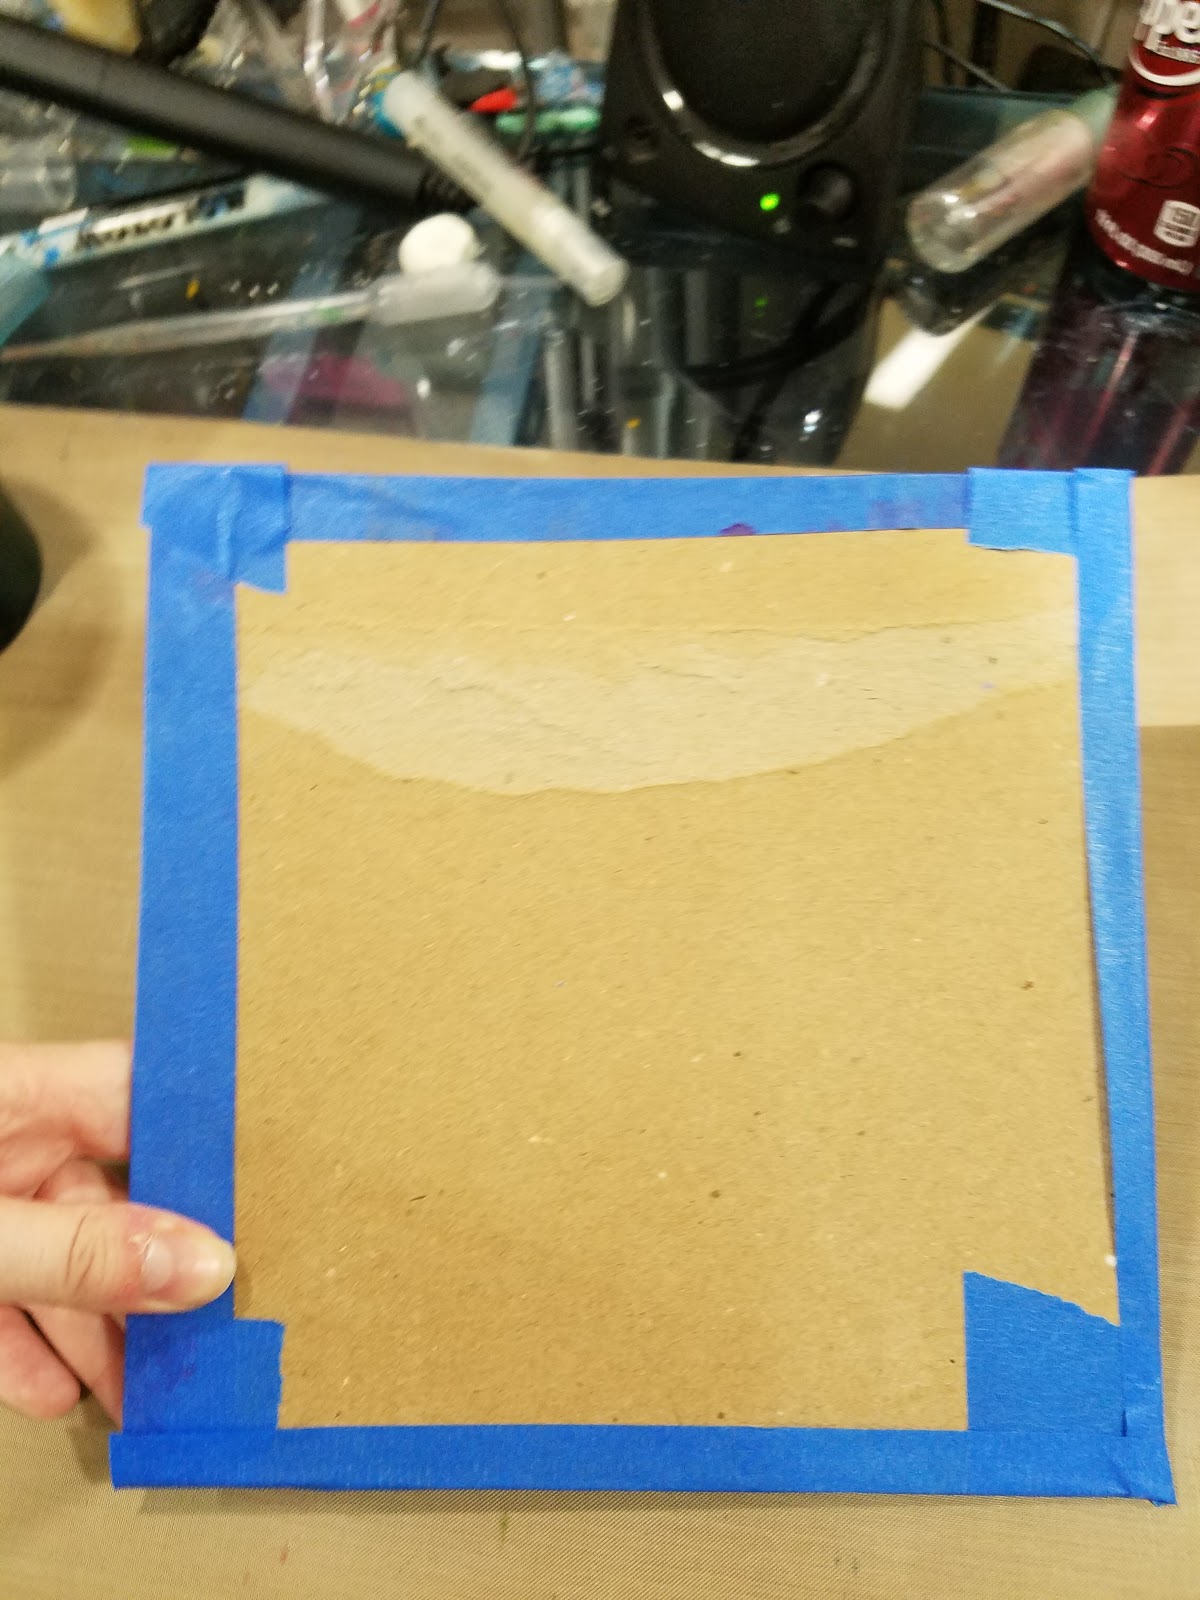
Securing Your Paper

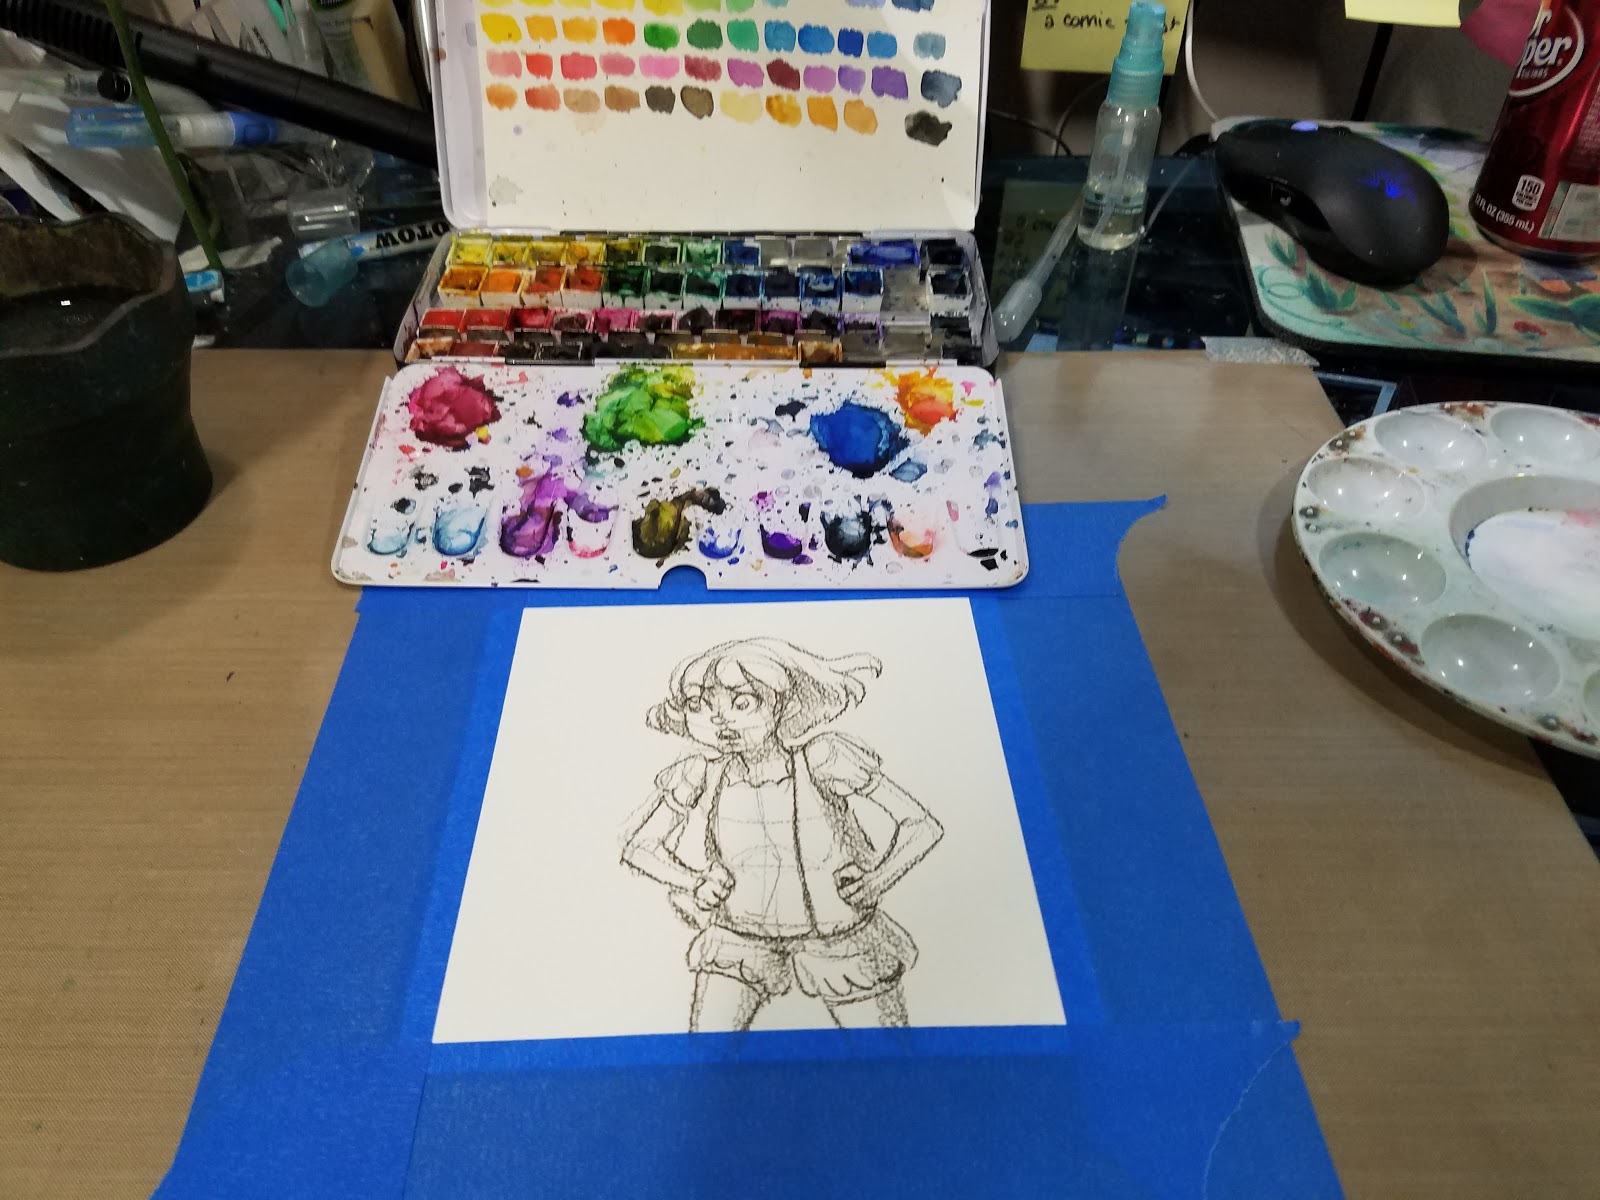
I just taped my watercolor paper directly to my Inkssentials Craft Mat, which was probably a poor idea, as at this time, it wasn't secured to my drafting table. This meant that as the watercolor paper buckled, it took the craft mat with it, as the craft mat supplied NO SUPPORT. Be a smartie- secure your paper to a hard surface!
Painting
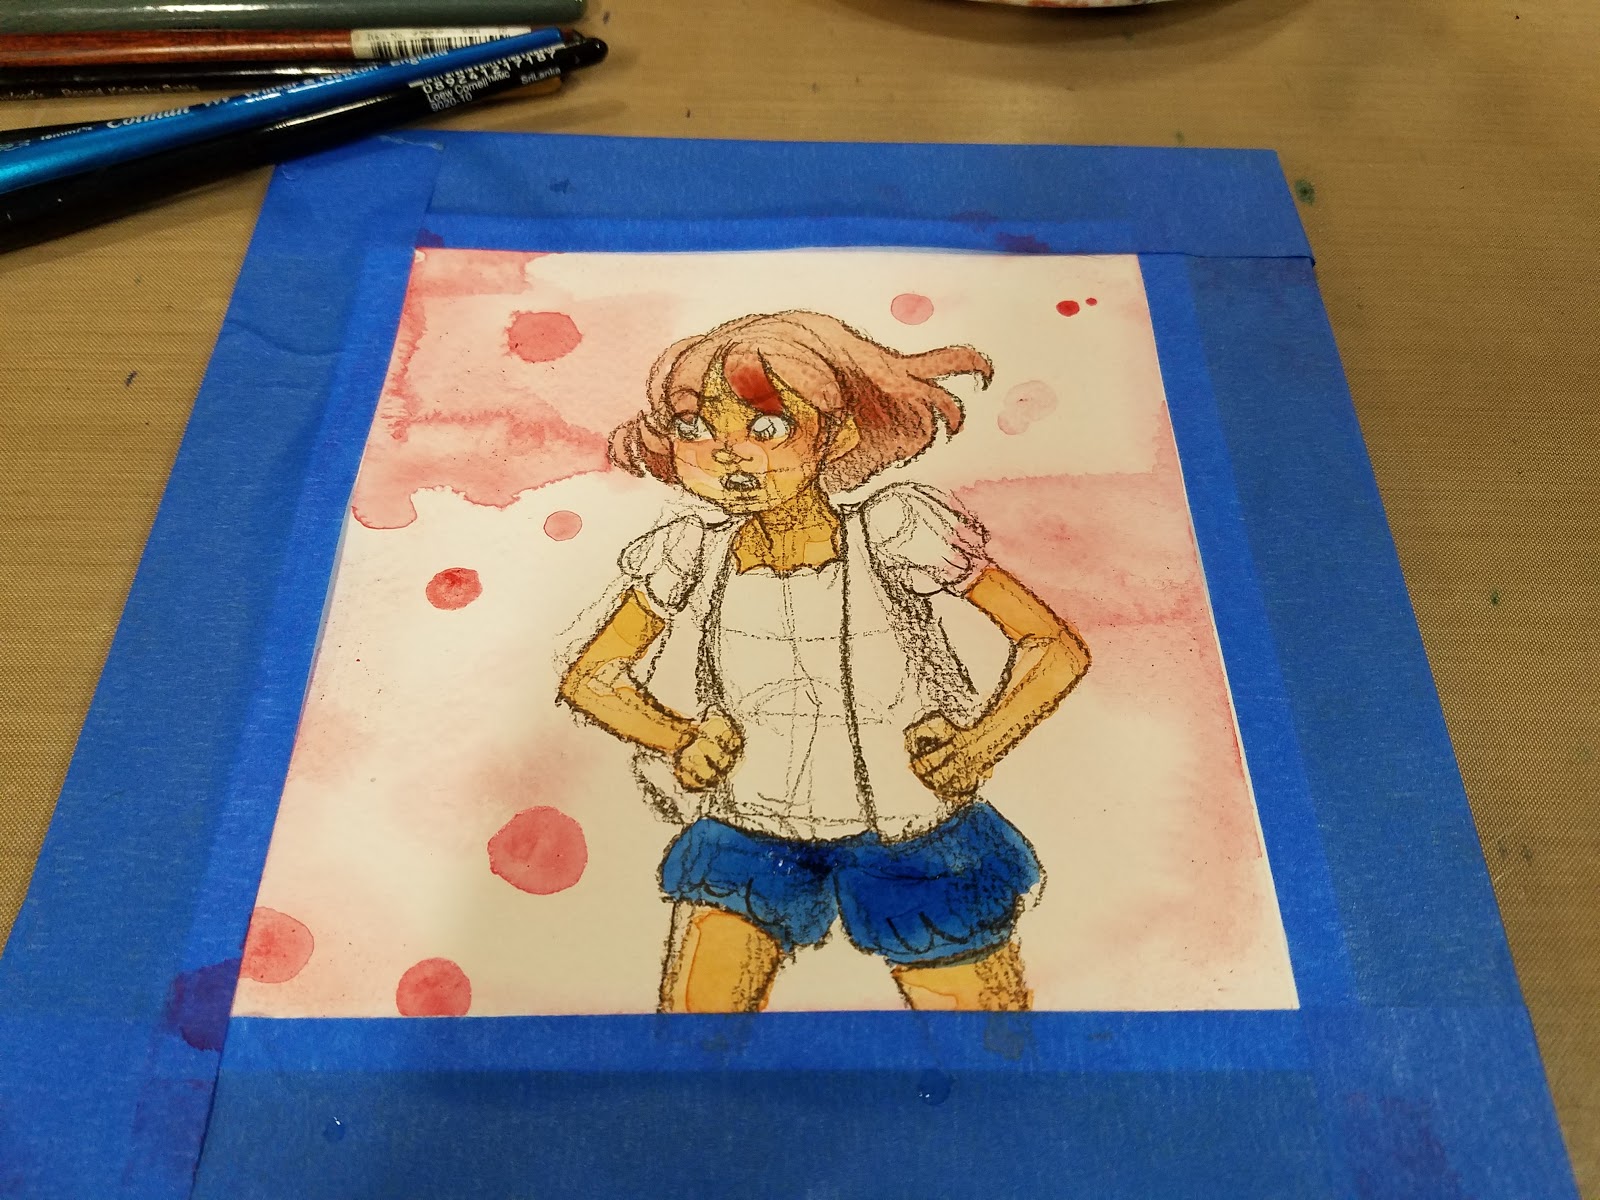
Wet into Wet Background
Color is applied while paper is still wet. Color diffuses into water for a soft blurred effect.
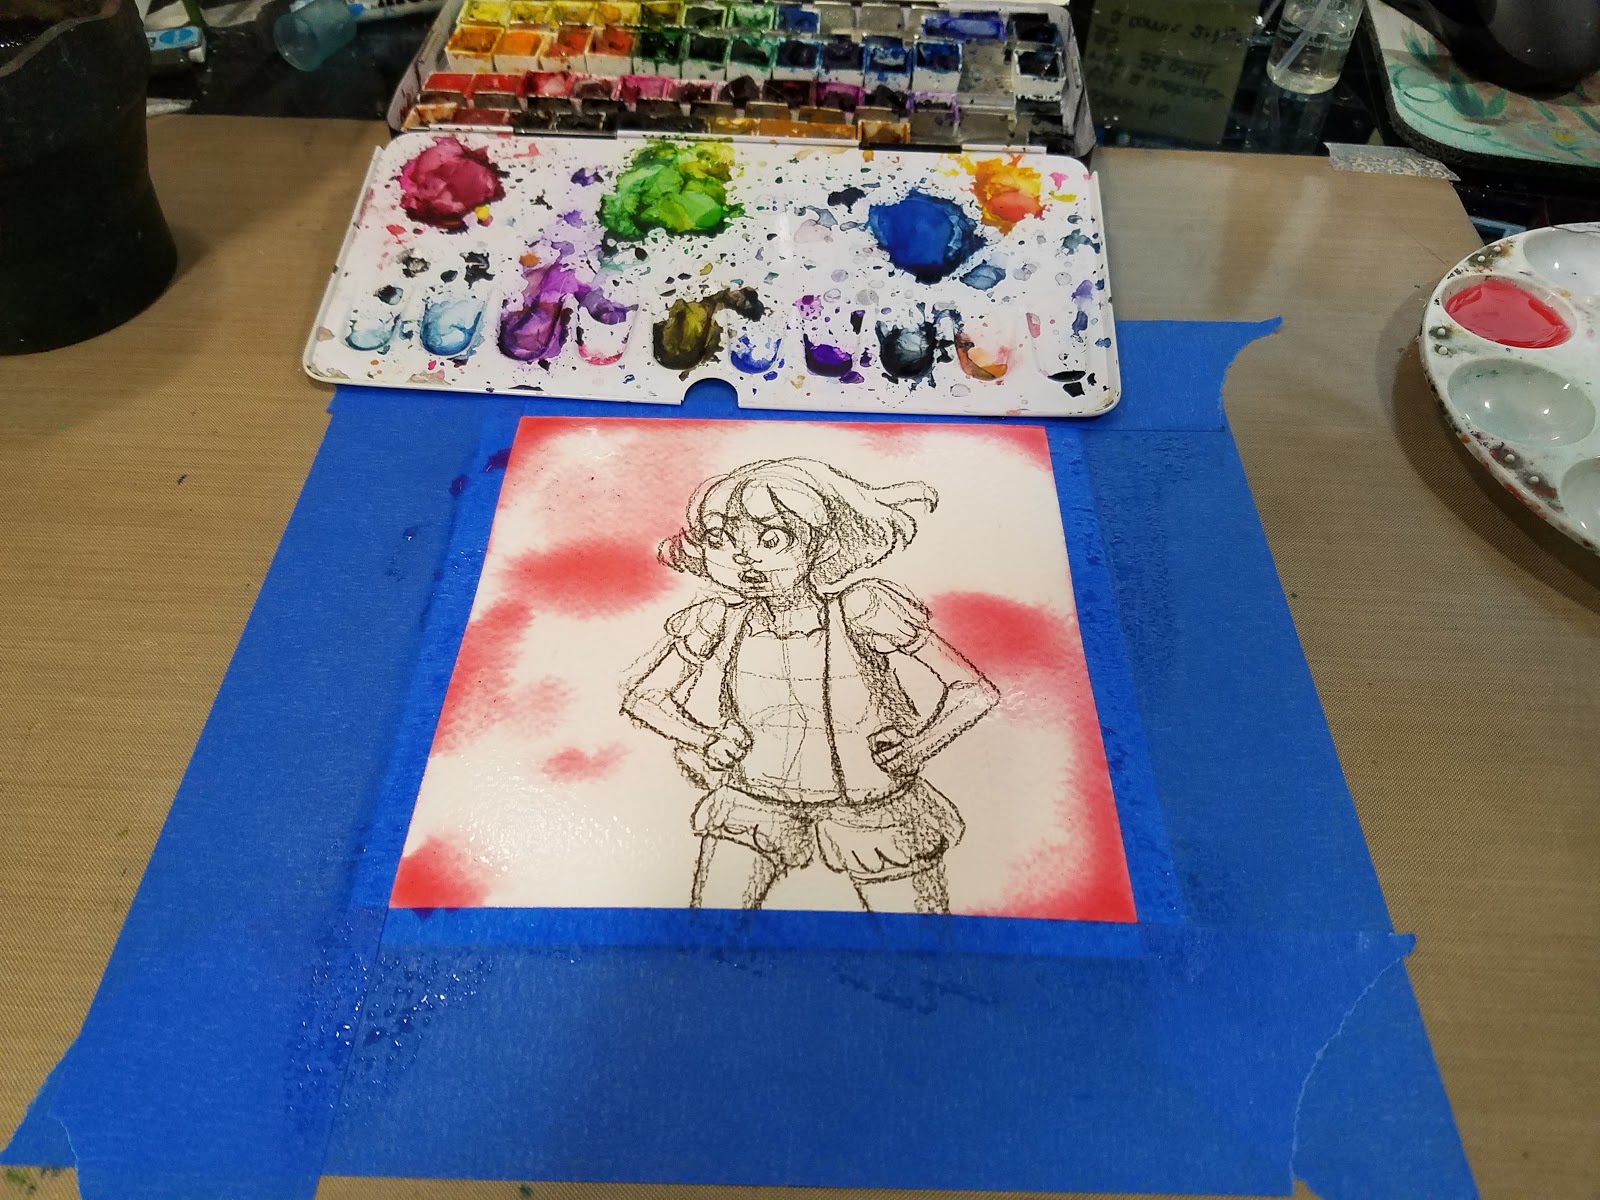
And of course, watercolor tends to dry lighter than it goes down.

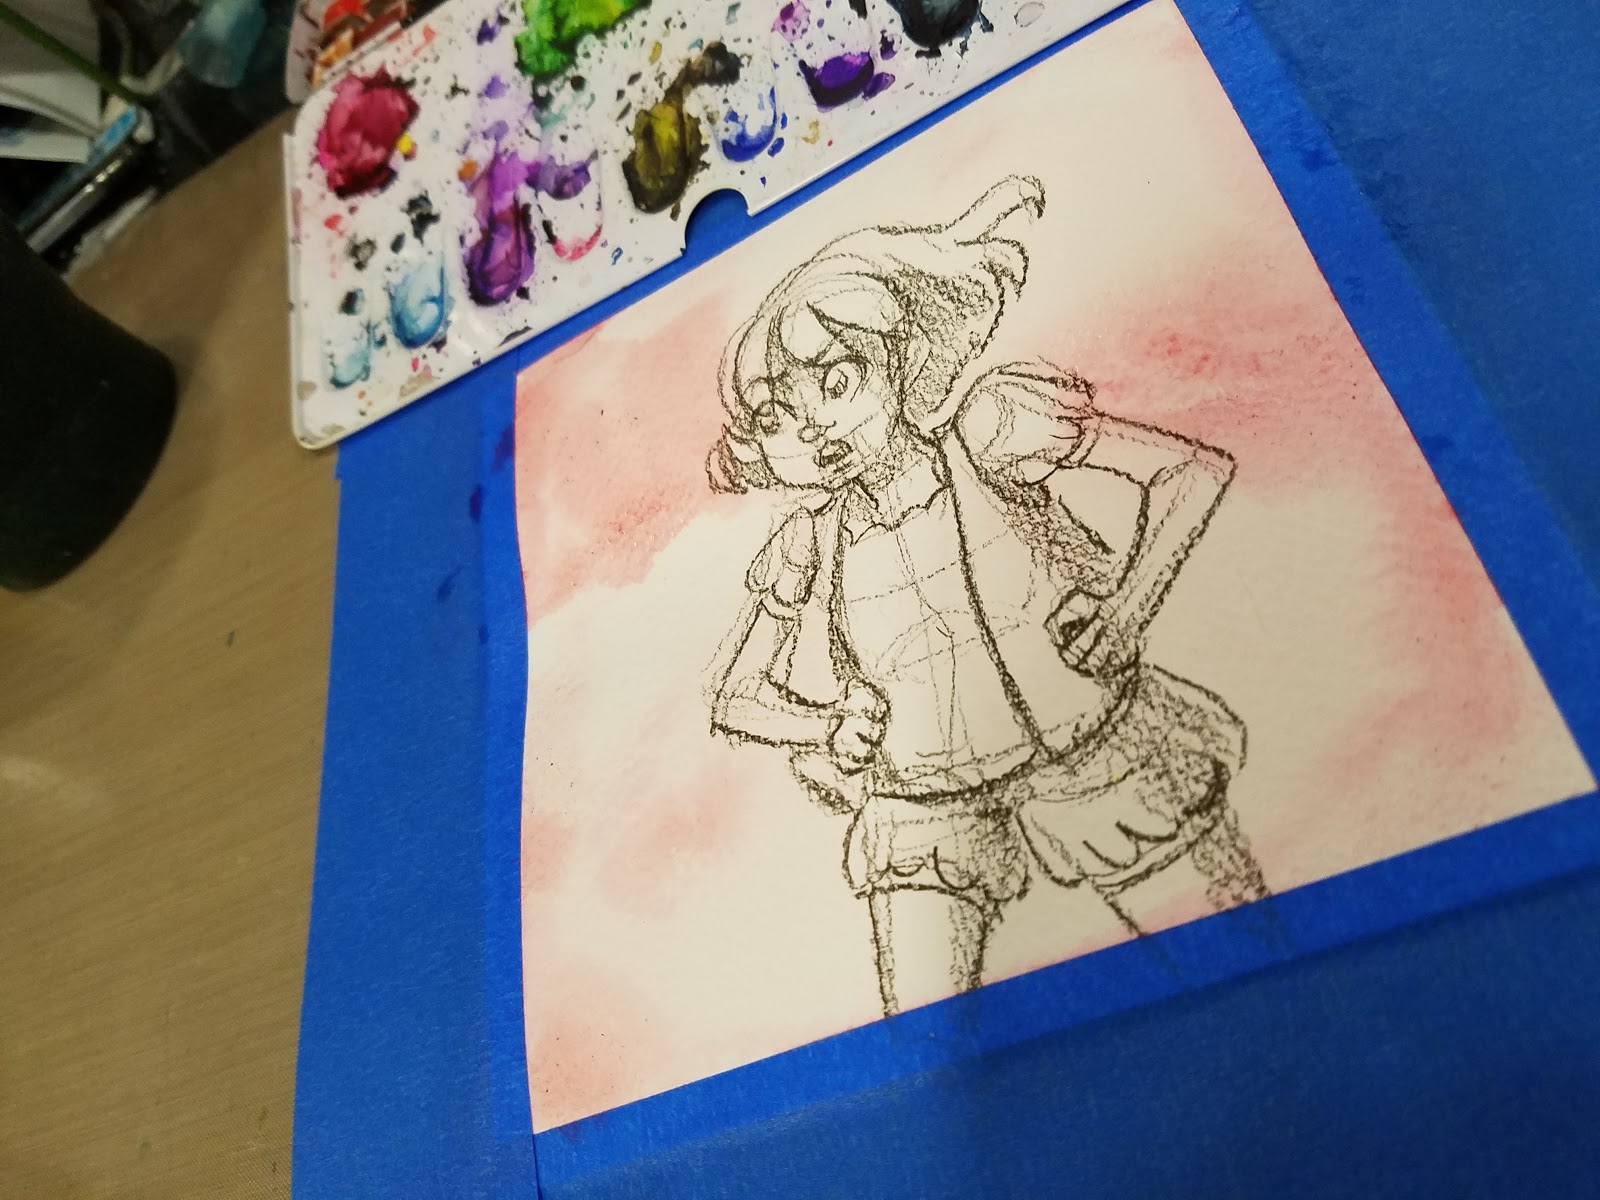
In this case, A LOT lighter than it went down, which was pretty disappointing.
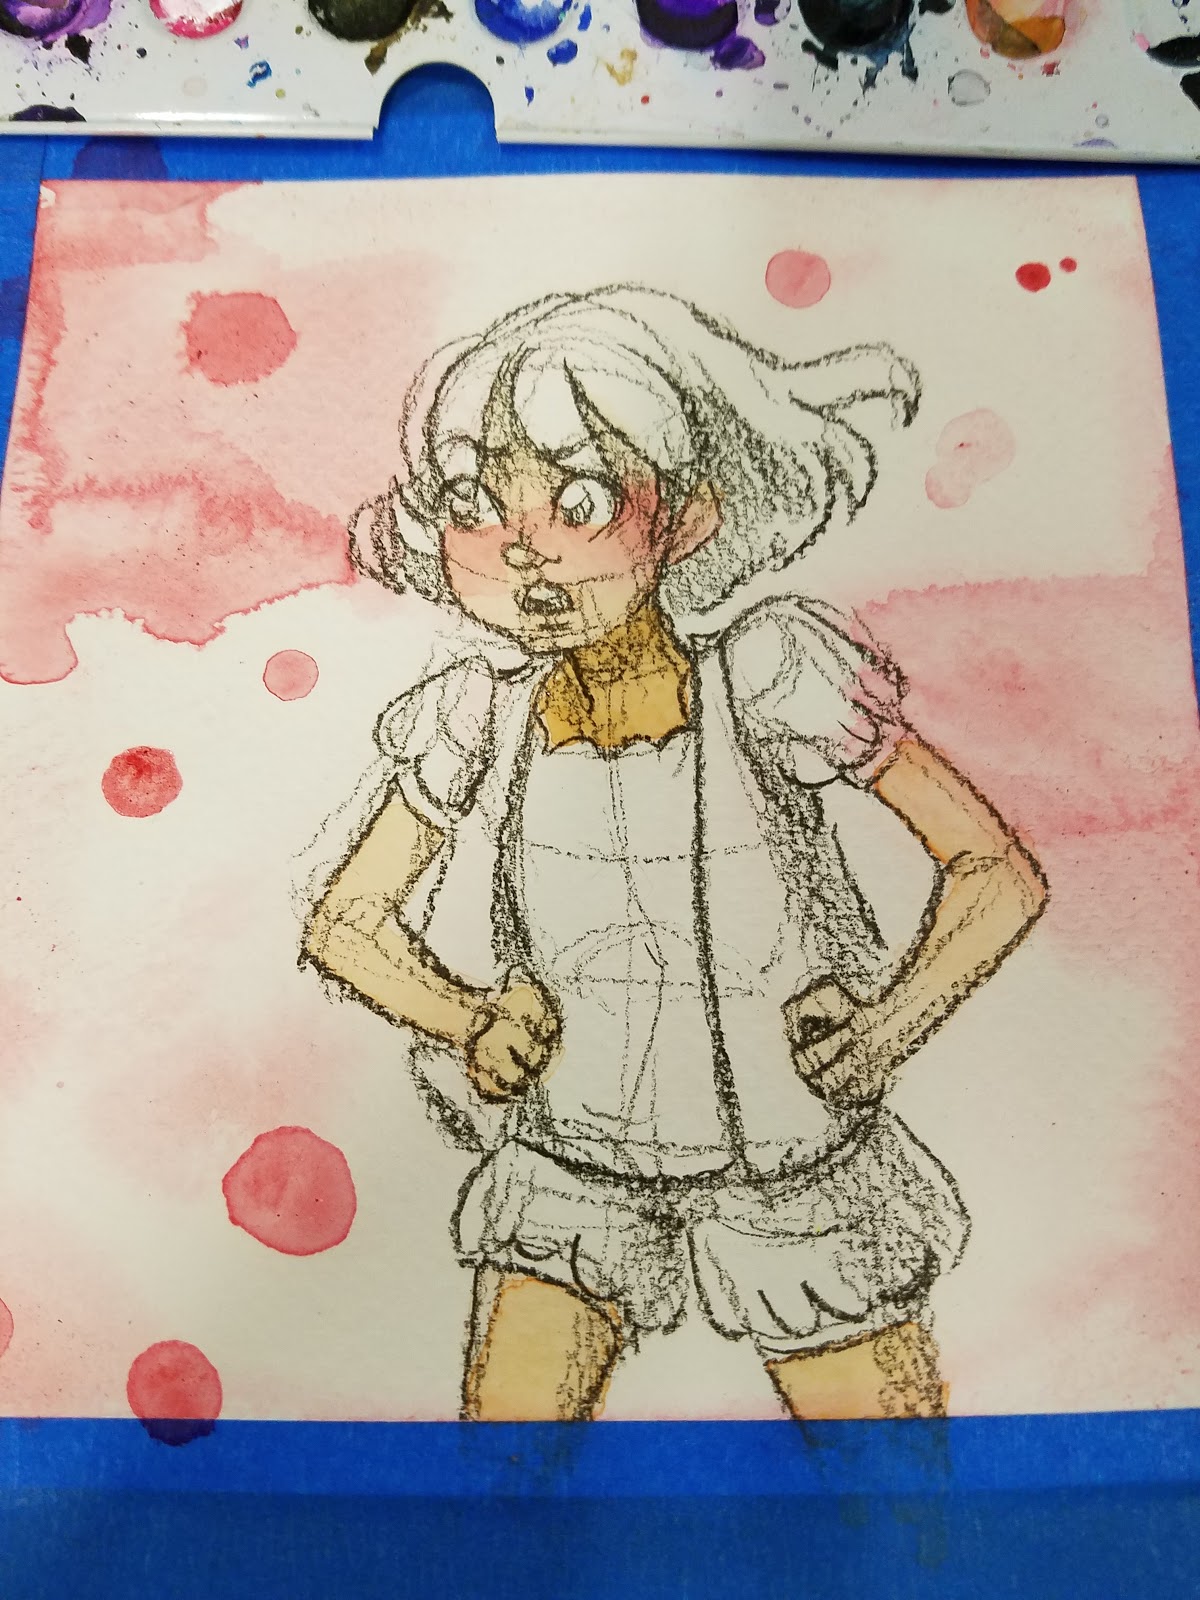
Skintone-Glazing
For a step by step glazing tutorial, please check out this post.
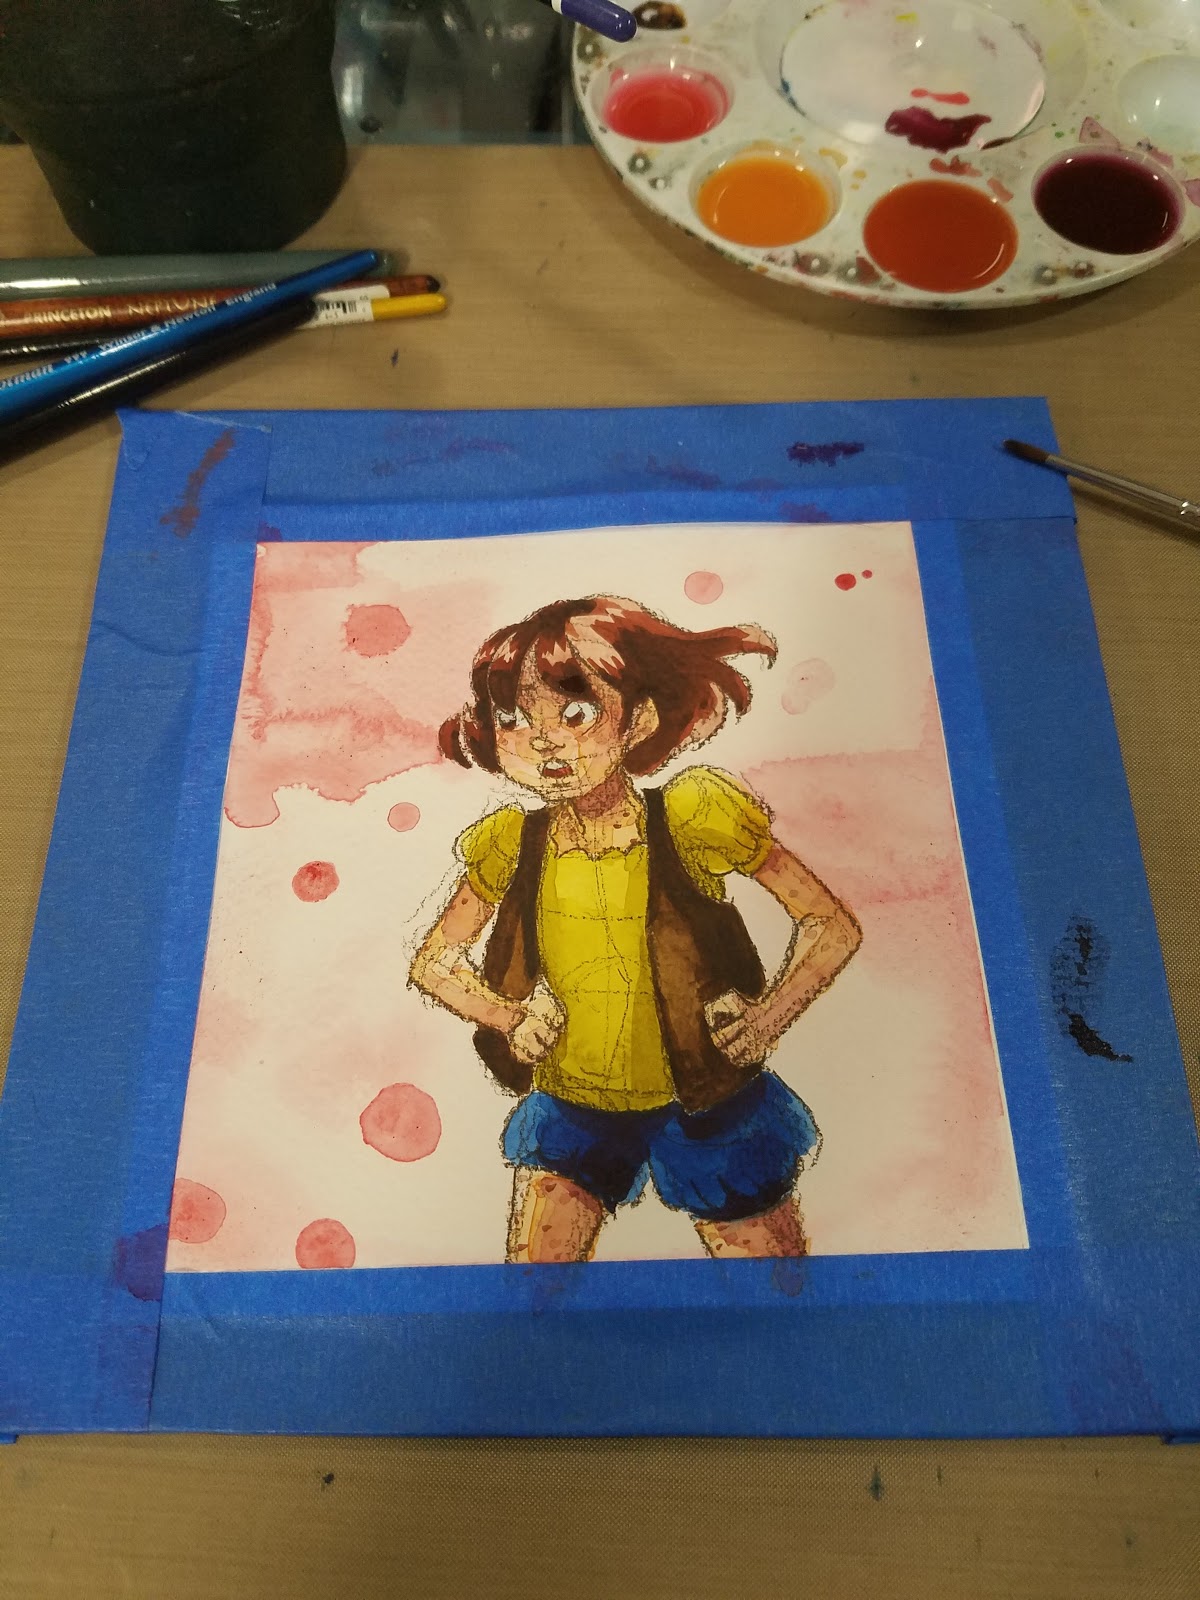
Frustrated by my Craft Mat kipping and buckling with the paper, I removed my piece from the mat and applied it to a spare piece of chipboard (from a Fluid block).

Building up Color and Tone
Just using glazing techniques at this point.


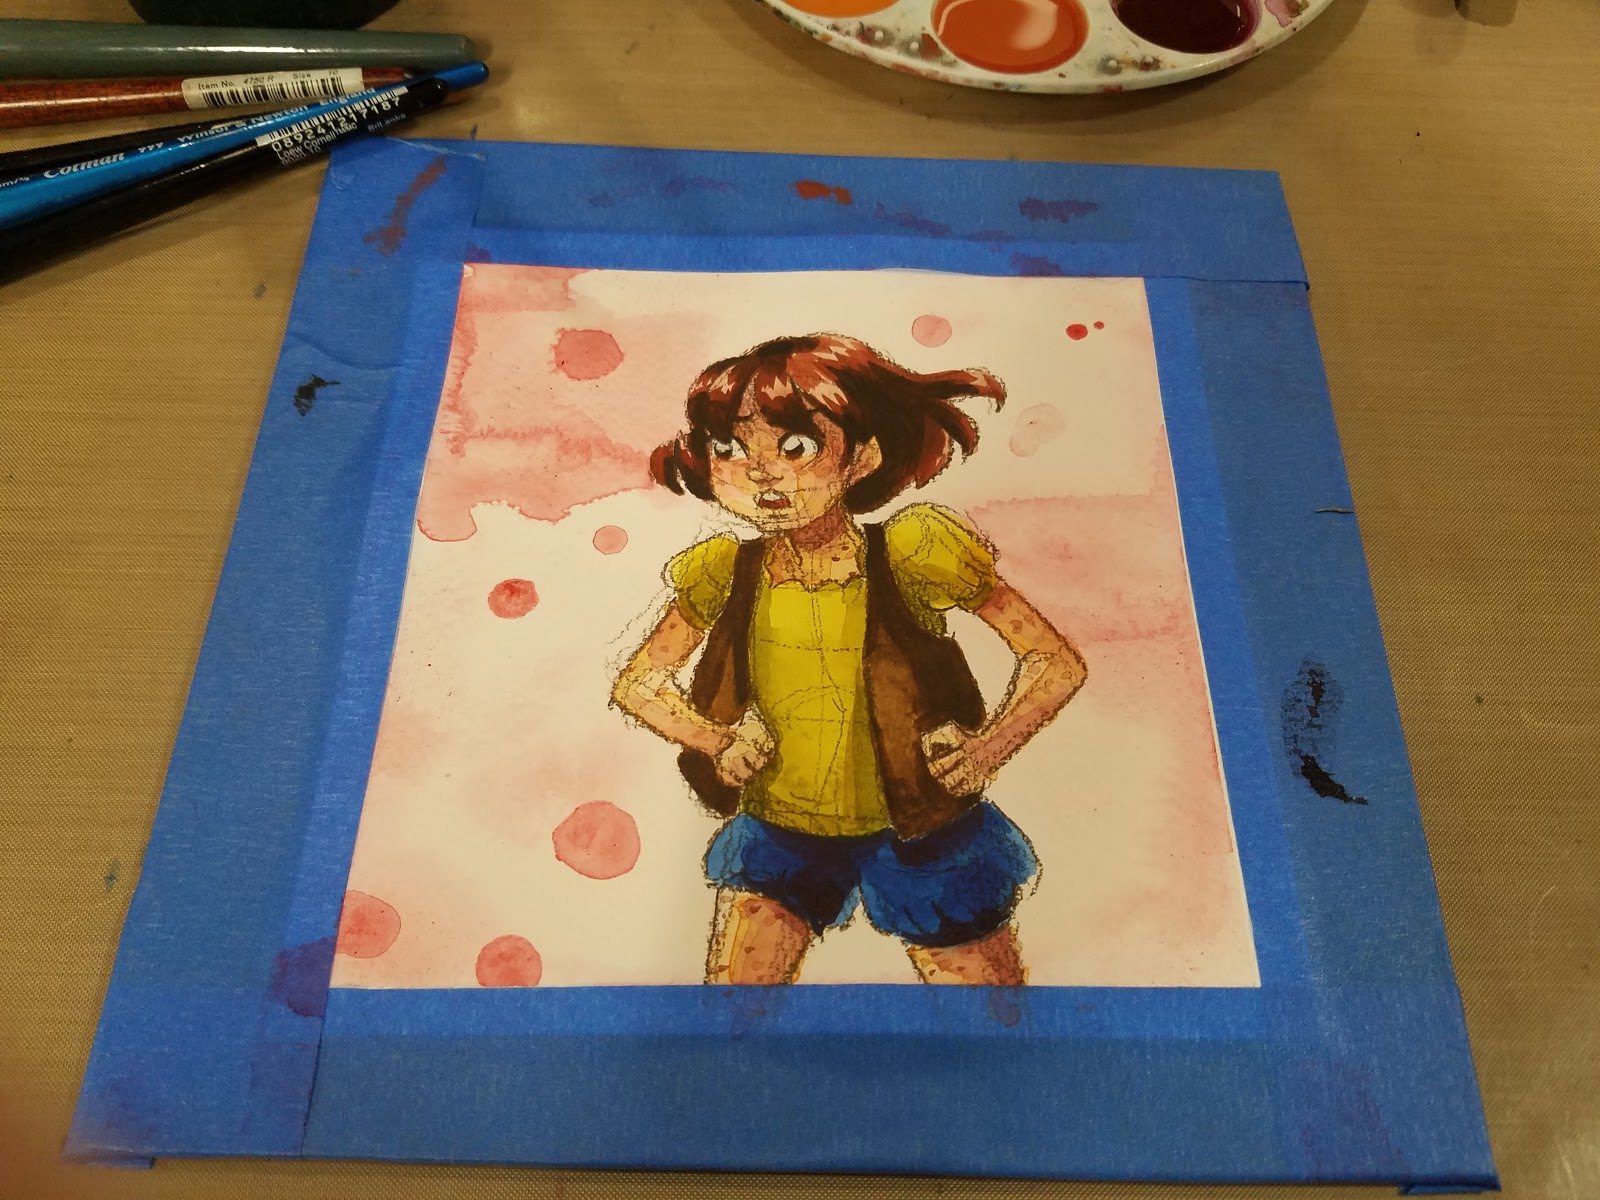
White Gouache Accents
This paper isn't really prepared to handle a lot of paint (it's a studio, which tends to be student or practice grade), so a lot of contrast was lost or difficult to build up. I opted to add some back with white gouache.
I'd love to revisit this technique and play with various colored pencils, types of lead, and paper types! I think this is a fun technique that changes up the look of your finished piece, and it's a great technique for doing colored sketches without waiting for ink to dry.
Our Sponsor
Speaking of watercolor, today's Watercolor Basic post was brought to you by the webcomic launch of 7" Kara, the comic that has inspired this series! If you enjoy my watercolor art, illustration, or tutorials, please check 7" Kara out on Tumblr or on the 7" Kara site.

If you just can't stand a cliffhanger, Volume 1 of 7" Kara is available on Gumroad and through my web-shop. Volume 1 contains the first four chapters of 7" Kara, and a bonus story, as well as loads of additional illustrations and a concept section!
Comments
Post a Comment